
(Part 3) A Deep Dive into the Technology Behind My Blog: Algolia Search
Beside comment system, a basic requirement for blog websites is search features. As the number of articles on your blog grows, of course the search feature can help your readers to quickly find the content that they’re interested in or need,it also improve your navigation sites to be efficient.
Build search feature from scratch is not as complicated as building comment sytem but still have it’s complexity especially if we want to build fulltext search. However, using full text search platform such as Elastic Search might be powerful but it be an overkill for small website like my personal blog because it’s require significant setup and maintenance. In the end, I took the middle ground and choose to use Algolia to handle search process. Algolia is a hosted search platform (SaaS Product) designed to be easy to setup and manage (With simple API Integration and User-friendly dashboard) but in the other hand has powerful search feature like typo-tolerance, multiple language supports and instant UI library. So that’s make Algolia is becoming ideal for small websites.
Why your blog need to have fulltext search?
I’m building this article blog based on Markdown files and technically I can parsing the metadata from those markdown to get some information like the title, slug, description, content and other properties, then convert it into another format like json files that more friendly to storing and transporting the data. With those json files I can easily use regex to match spesific patterns in a string text based on input keywords(you can see the implementation of this method on Open Source Project like phpid-jakarta/phpid-learning). But regex-based search comes with some problems such as being slow and inefficient as the number of blog article grows, lack the ability to rank search results based on their relevance to the query and not scalable. This is why I more prefer to use fulltext search on my personal blog rather than regex-based search.
Fulltext search offers the main benefit like the ability for ranking the relevance by query and at the same time handling typos or spelling mistakes in the query but still return relevant results (fuzzy search). This is good for blog users who may not have specific context when searching for article content. So far, I think Algolia is the leading platform of fulltext search solutions that widely adopted by various of open source projects for their documentation search. Algolia have free plan that suitable for small websites with 10.000 search limit per month and 1 million of records. You can also apply for the Algolia Doc Search Programs which is free search service Open Source Documentation and fully covered by Algolia.
How to Integrate Algolia on Astro Project
The Configuration for making integration between Algolia and Astro is quite simple. Basicly, the process involves a number of steps, so I outlined step by step guide below based on my personal blog configurations.
Algolia Account & Dashboard Setup
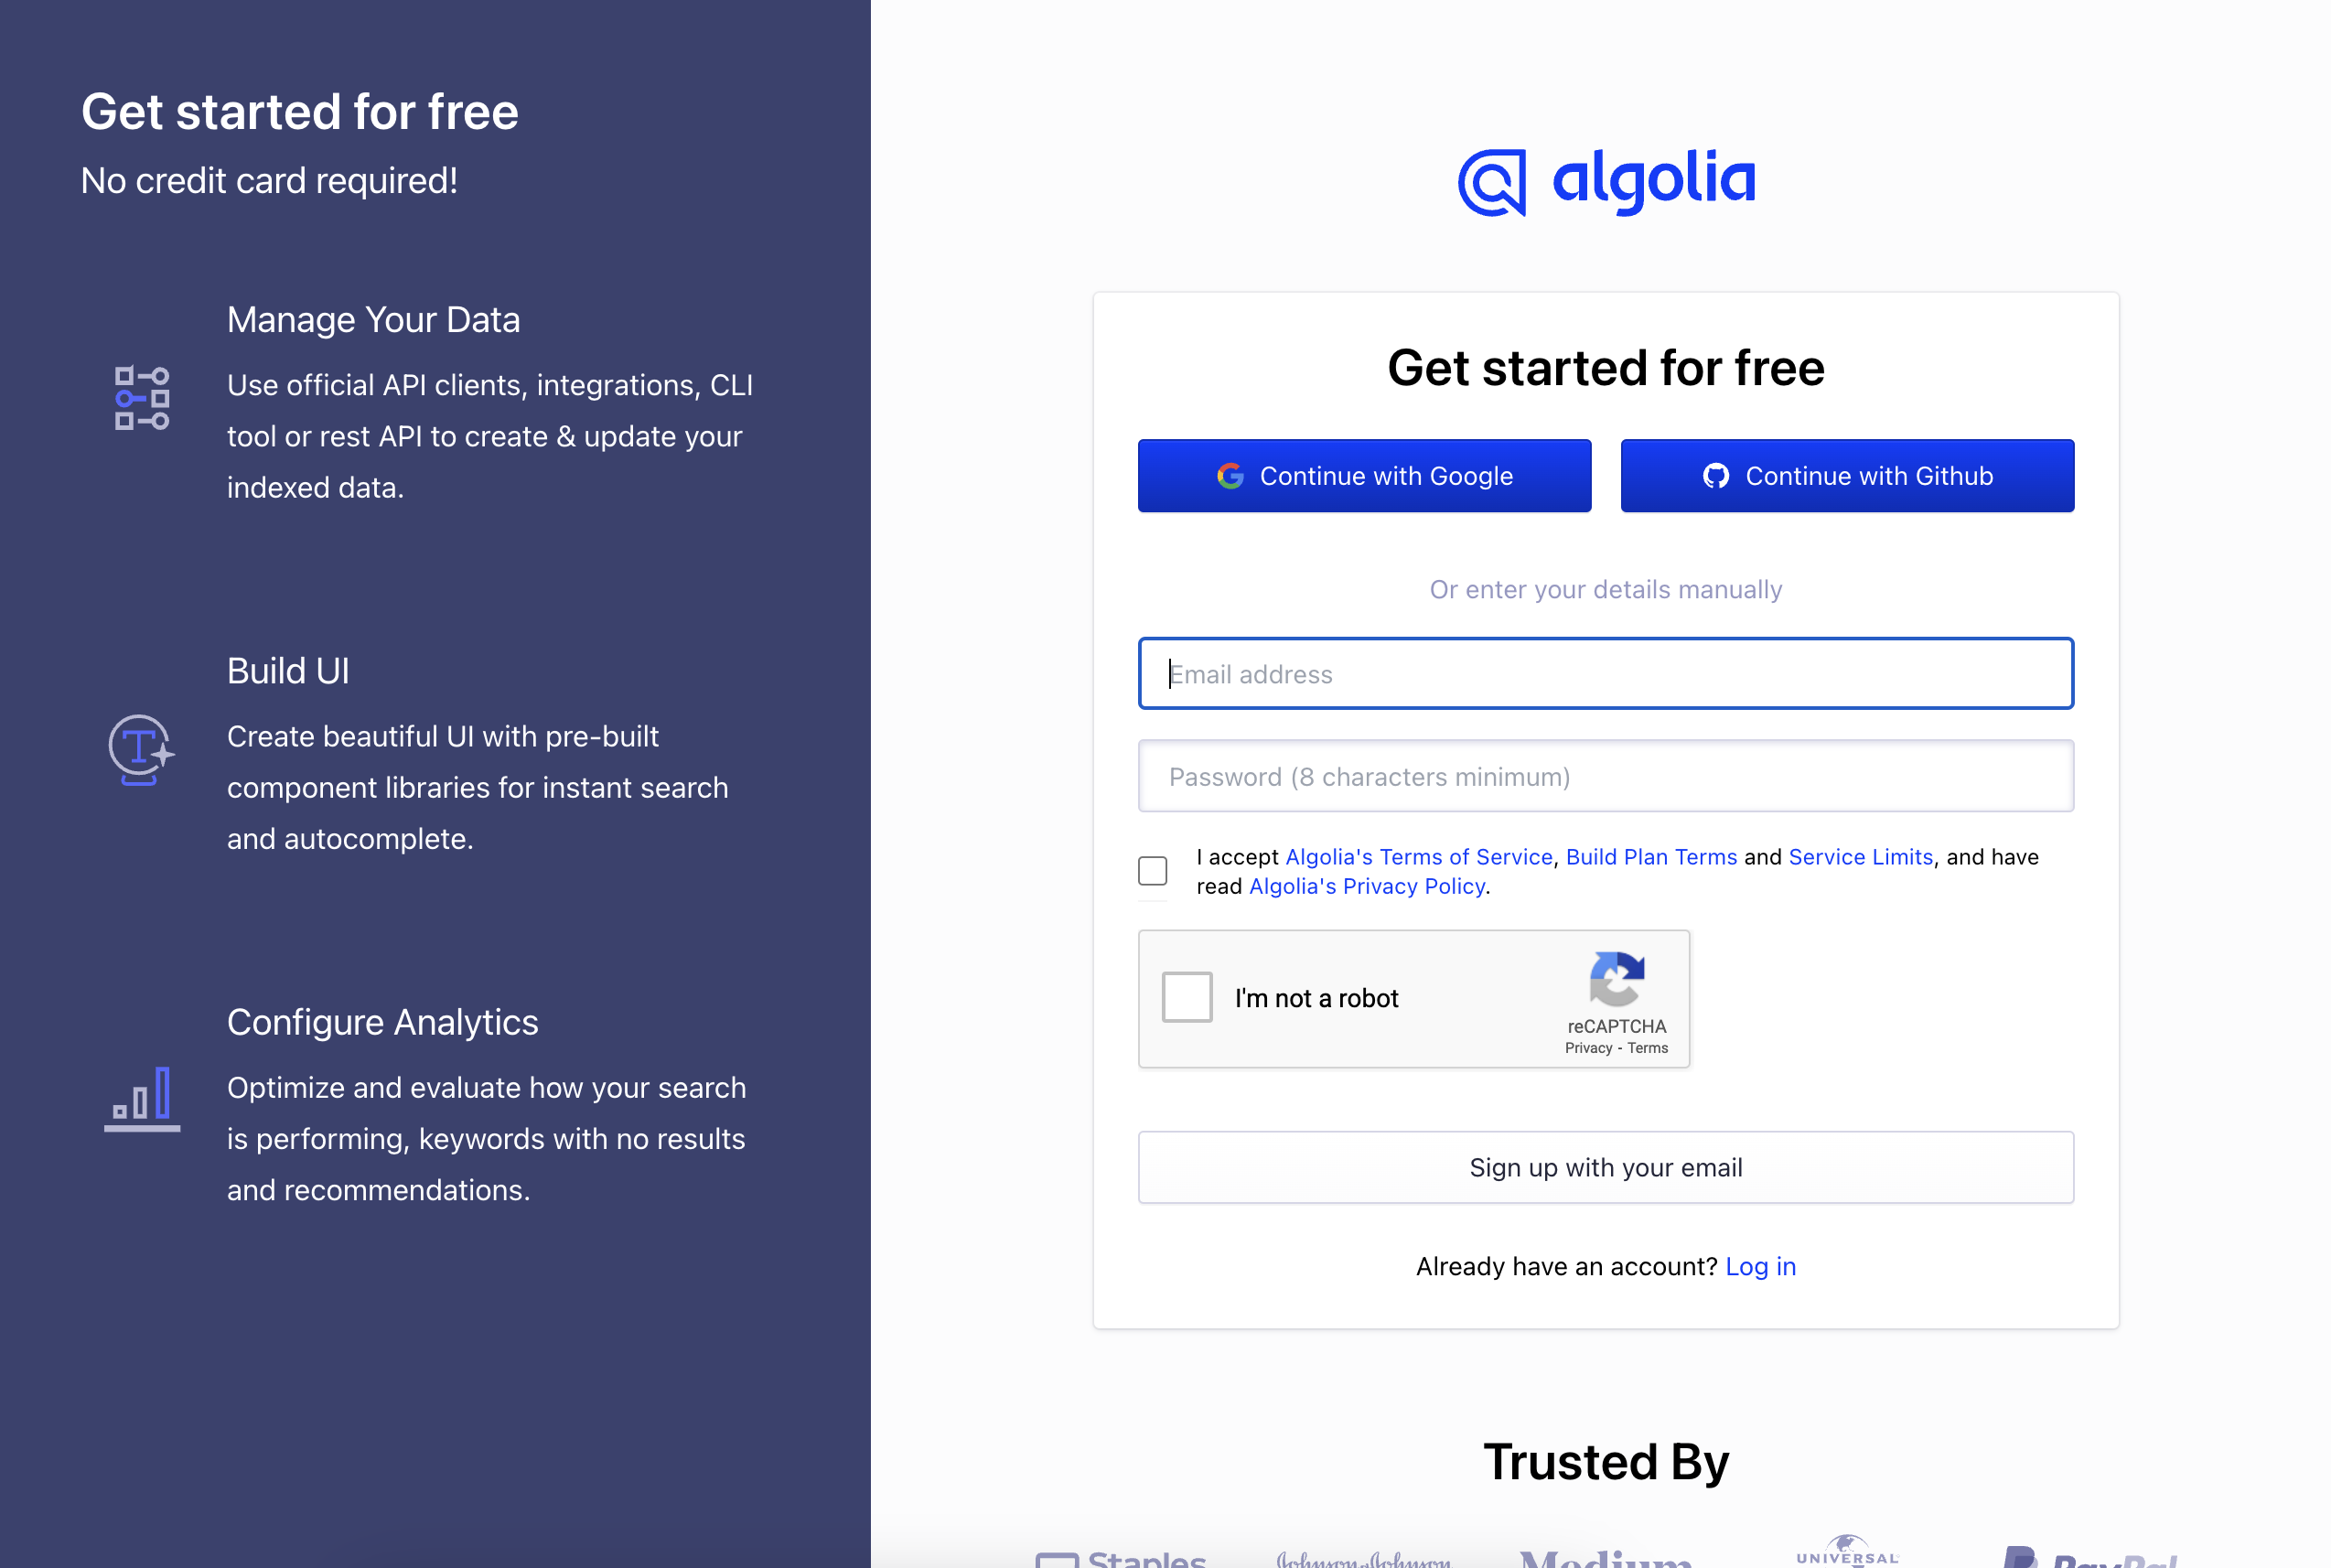
The first step is to create an Algolia account, if you already have Google or Github account, you can simplify the signup process with choosing to continue with one of them. You can still doing signup process manually with input your email address.
After you finish signup process you will redirect to algolia dashboard. So for next step, you need to configure an Search Index. Click Search menu on your sidebar menu and you will redirect to Search Index menu.
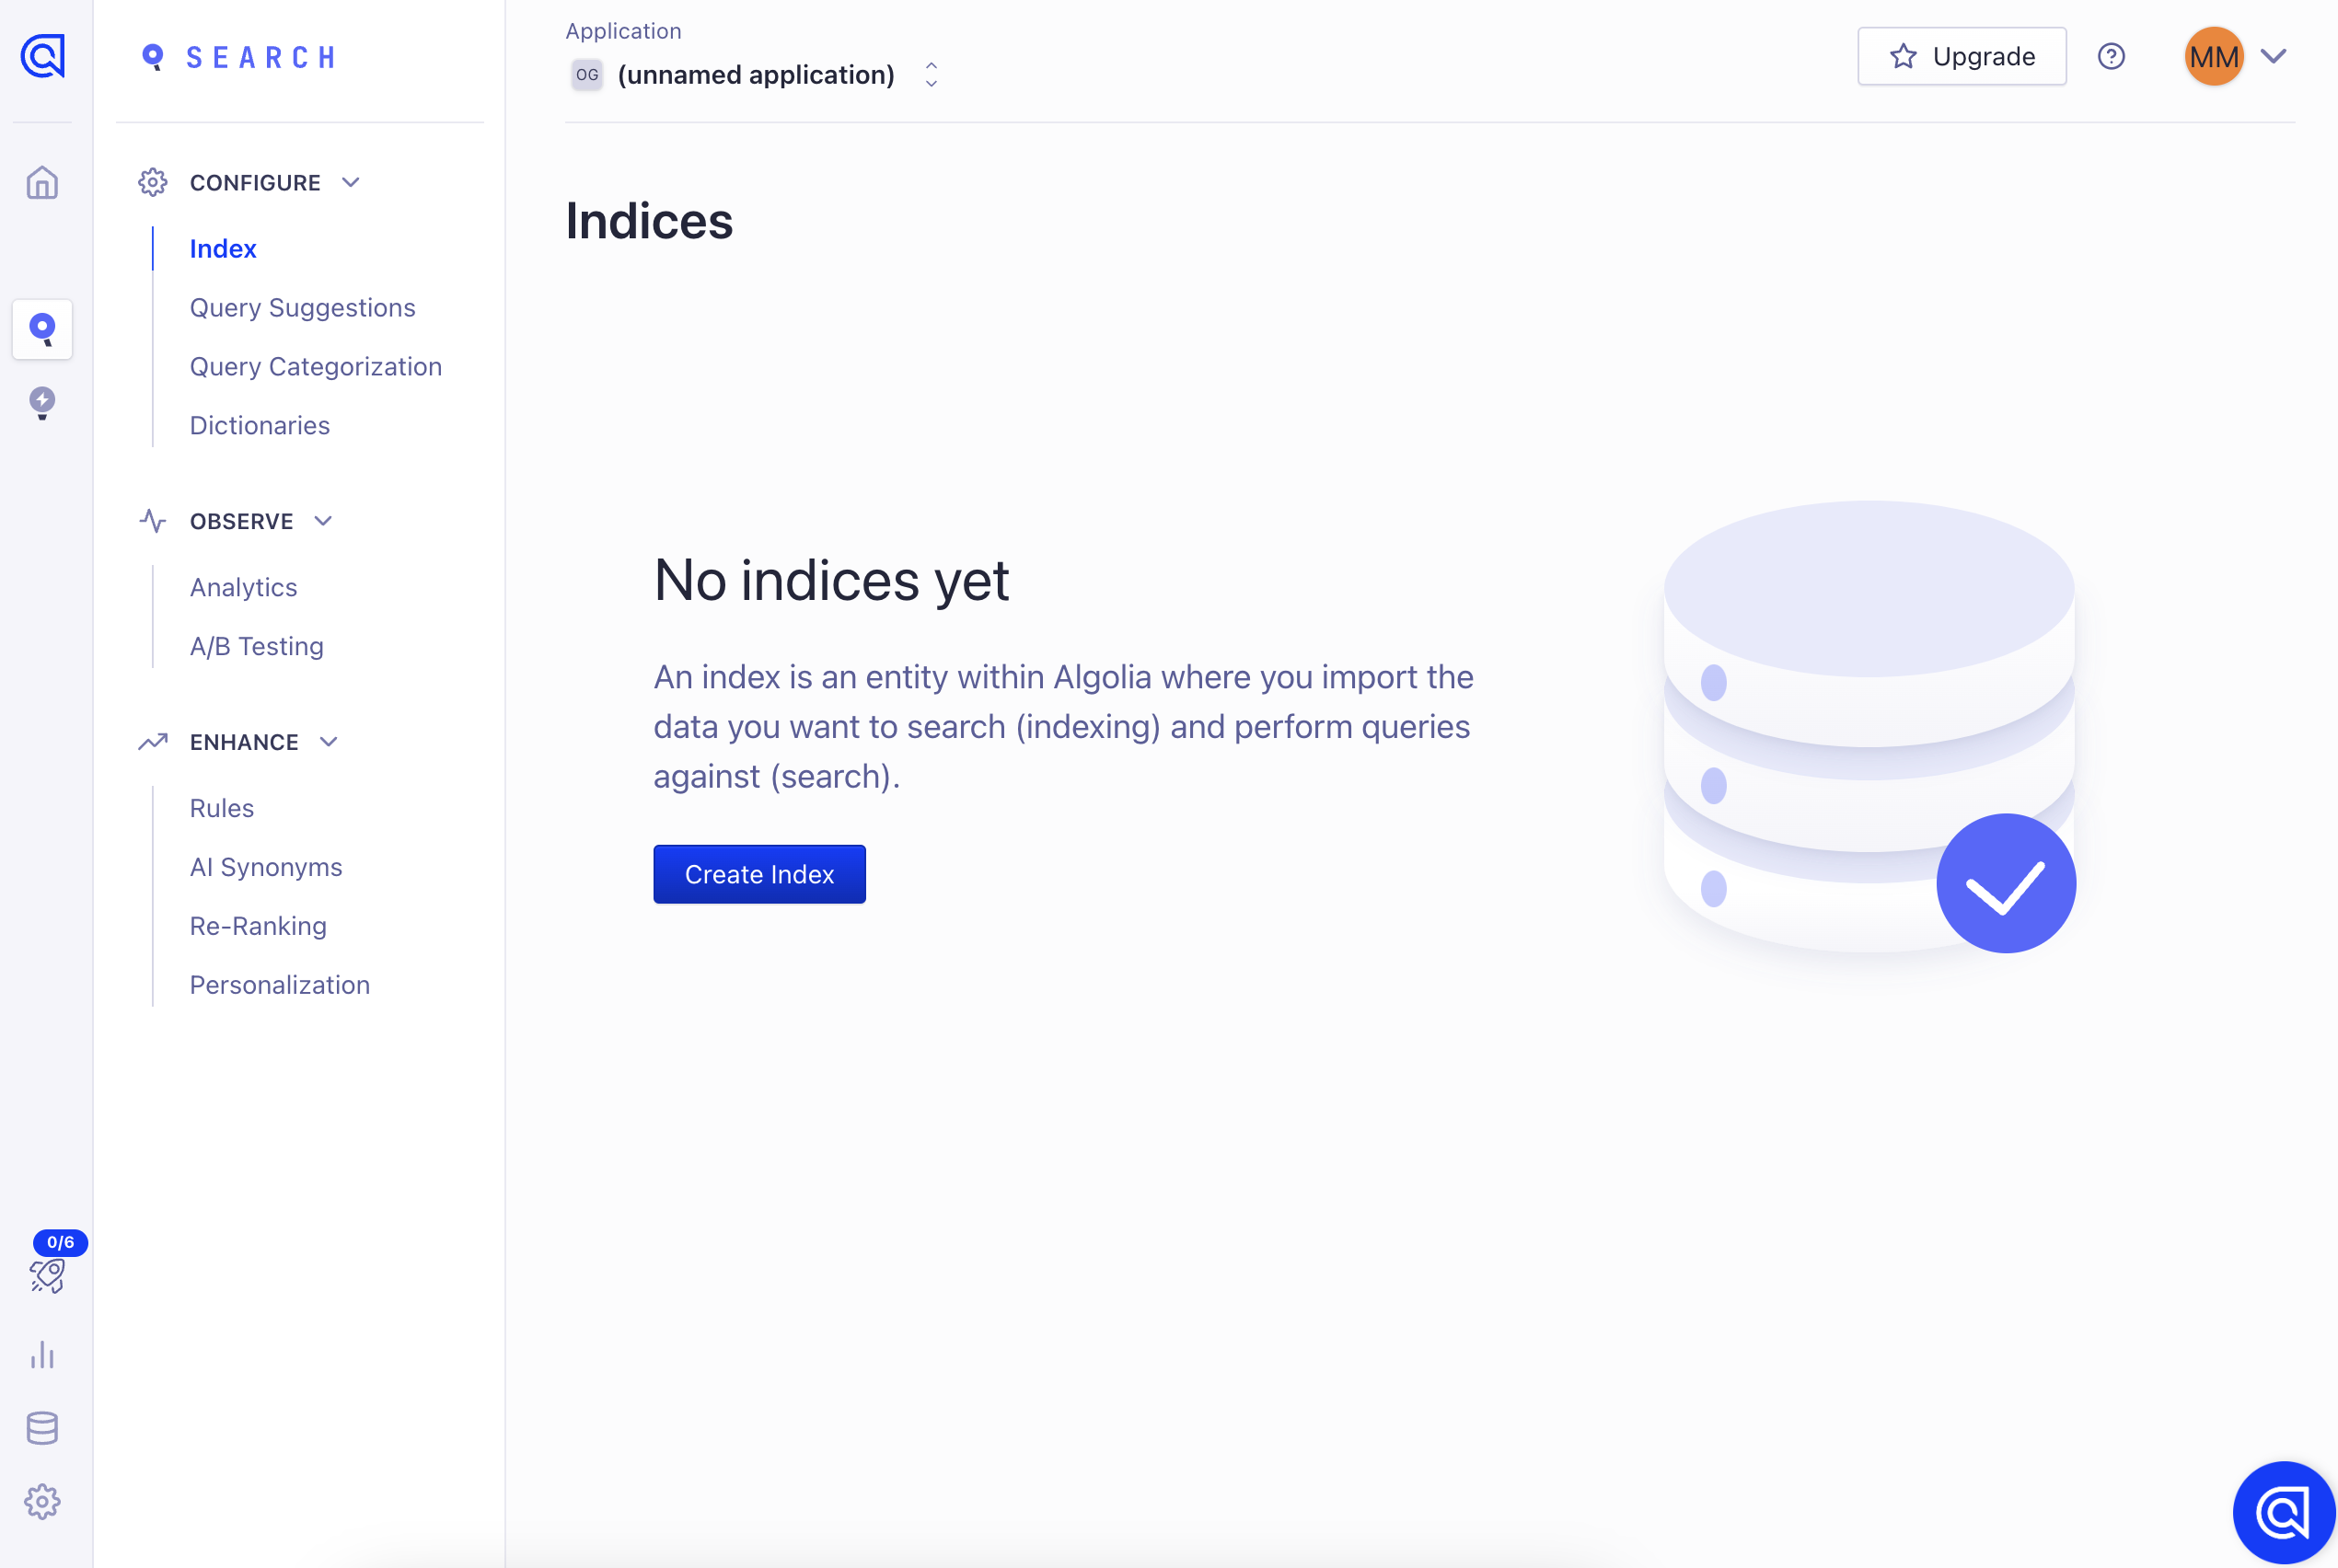
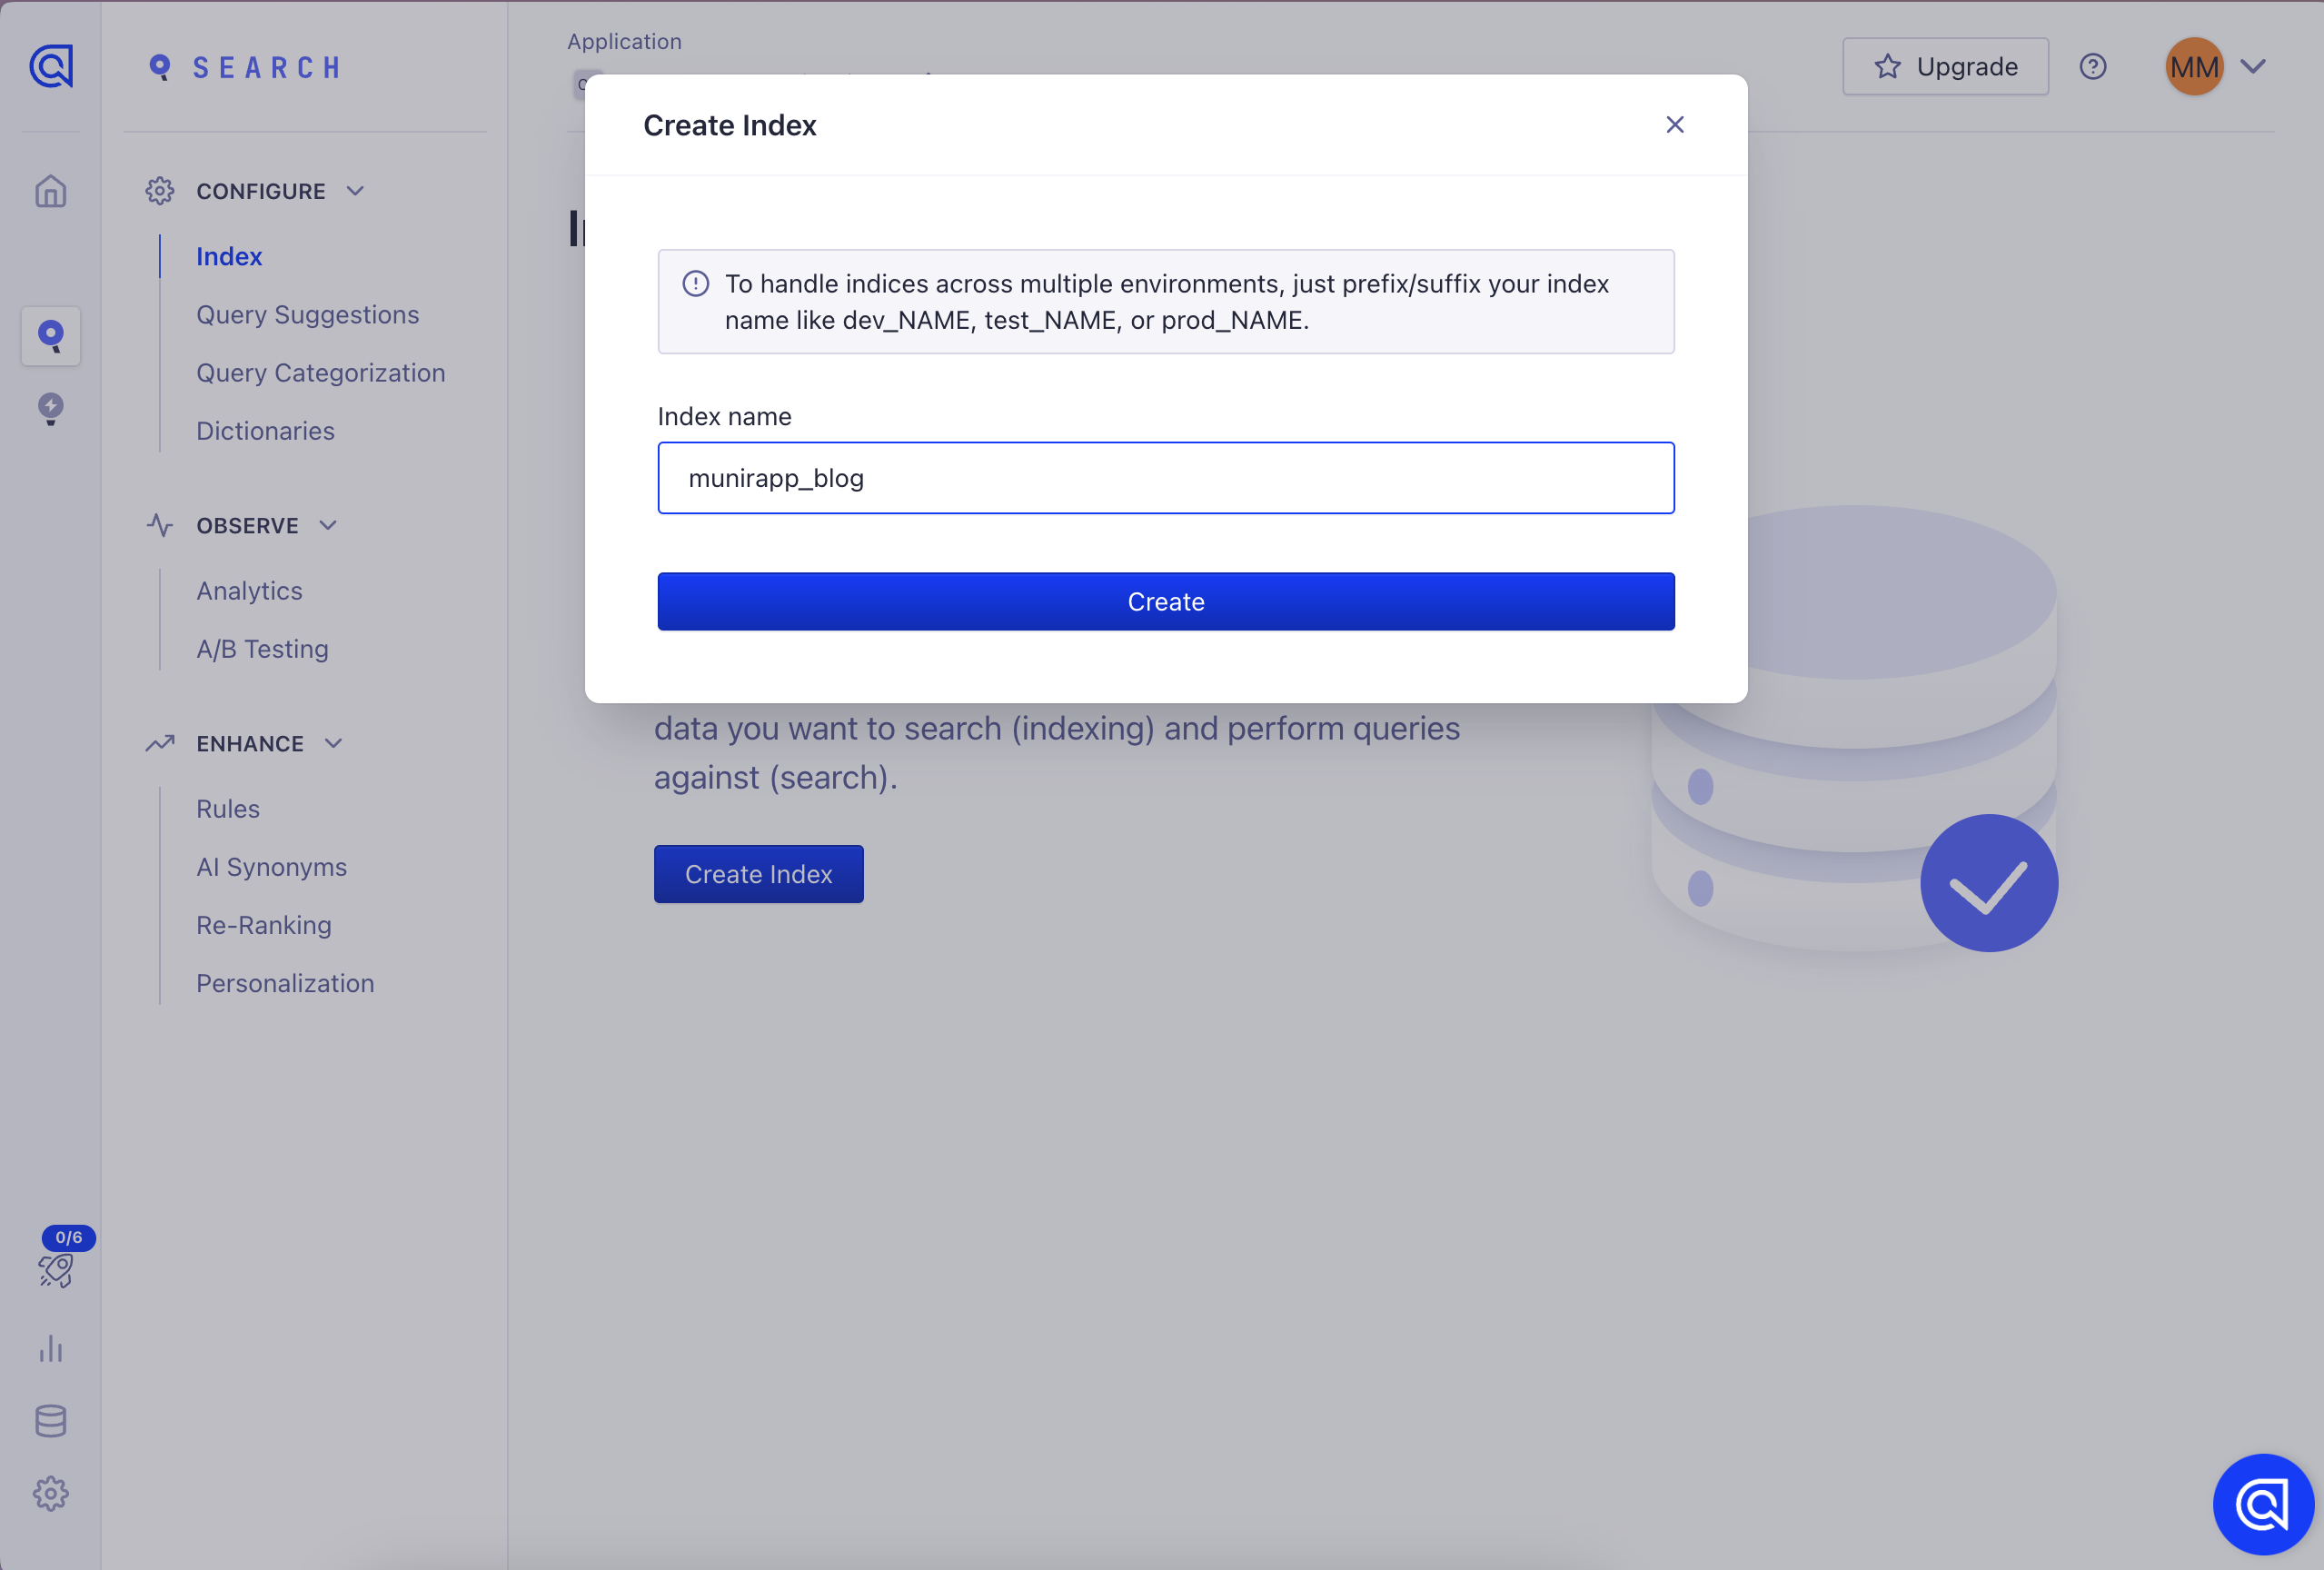
Click create index button, fill index name with your preference, click create button.
You will see message to uploading your records, don’t worry we can skip this part for a while, because we will upload the records programmatically on CI/CD setup. Next, go to back your dashboard home (overview) and click Api Keys menu.
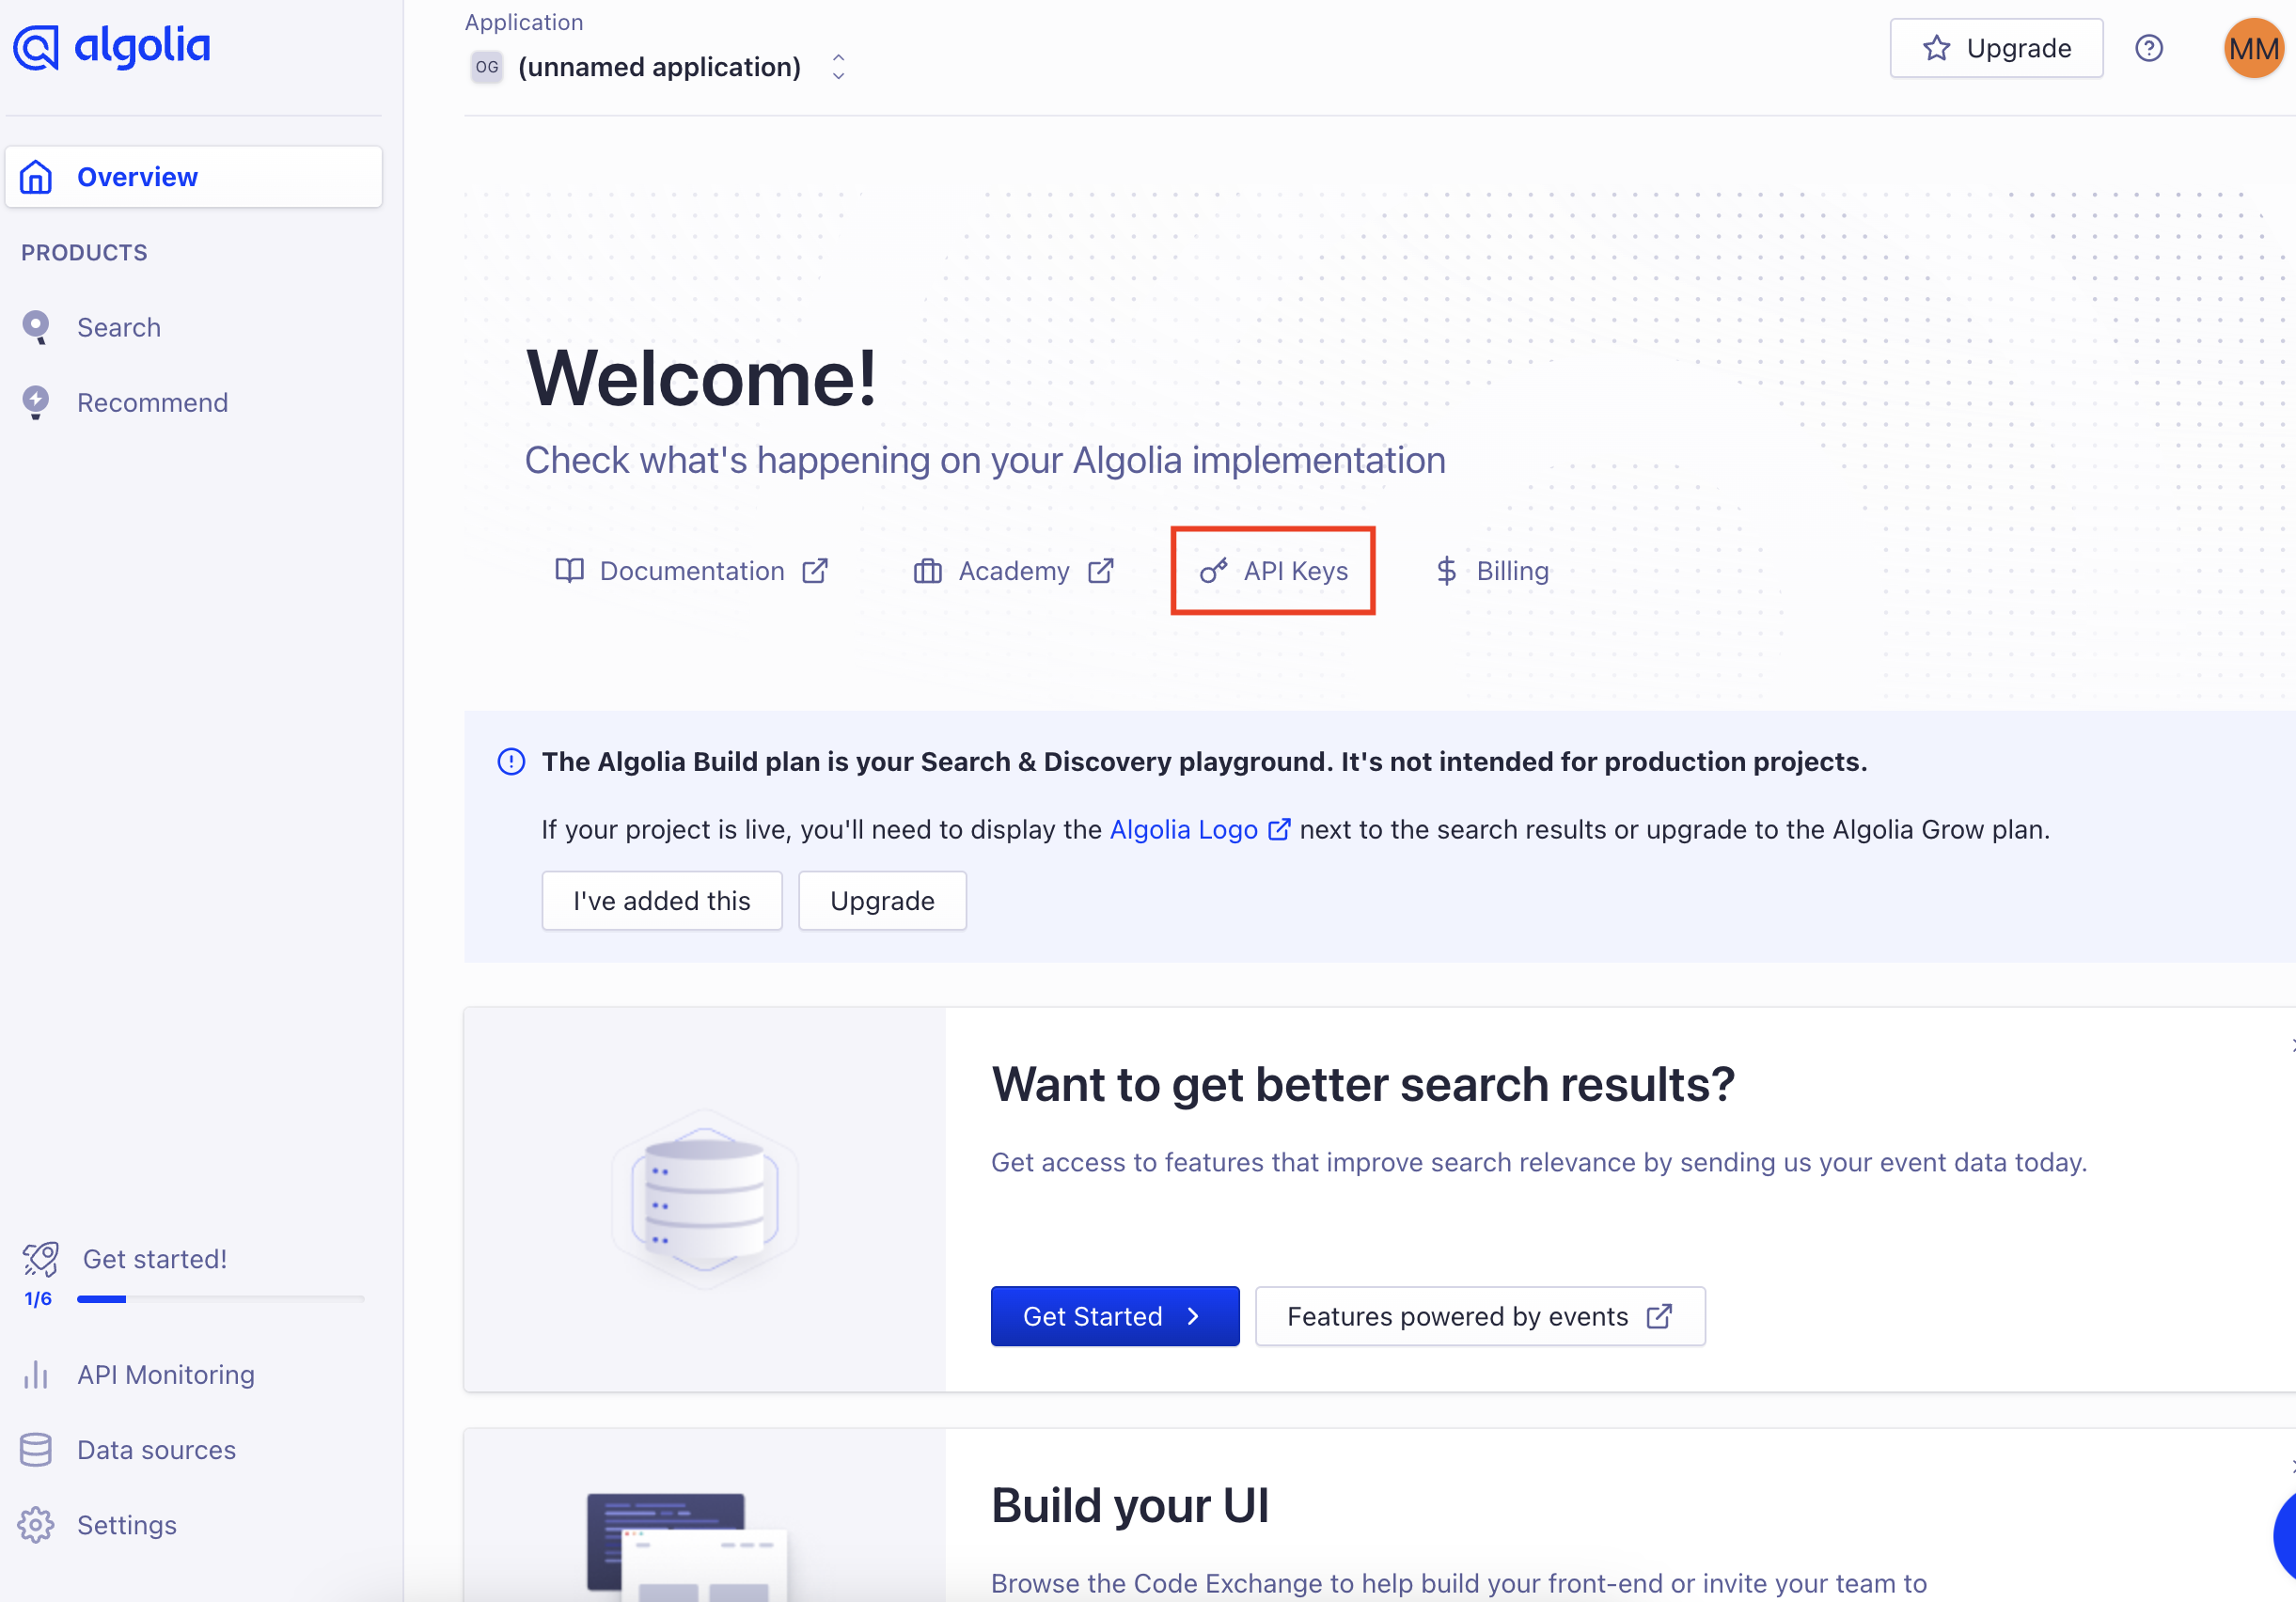
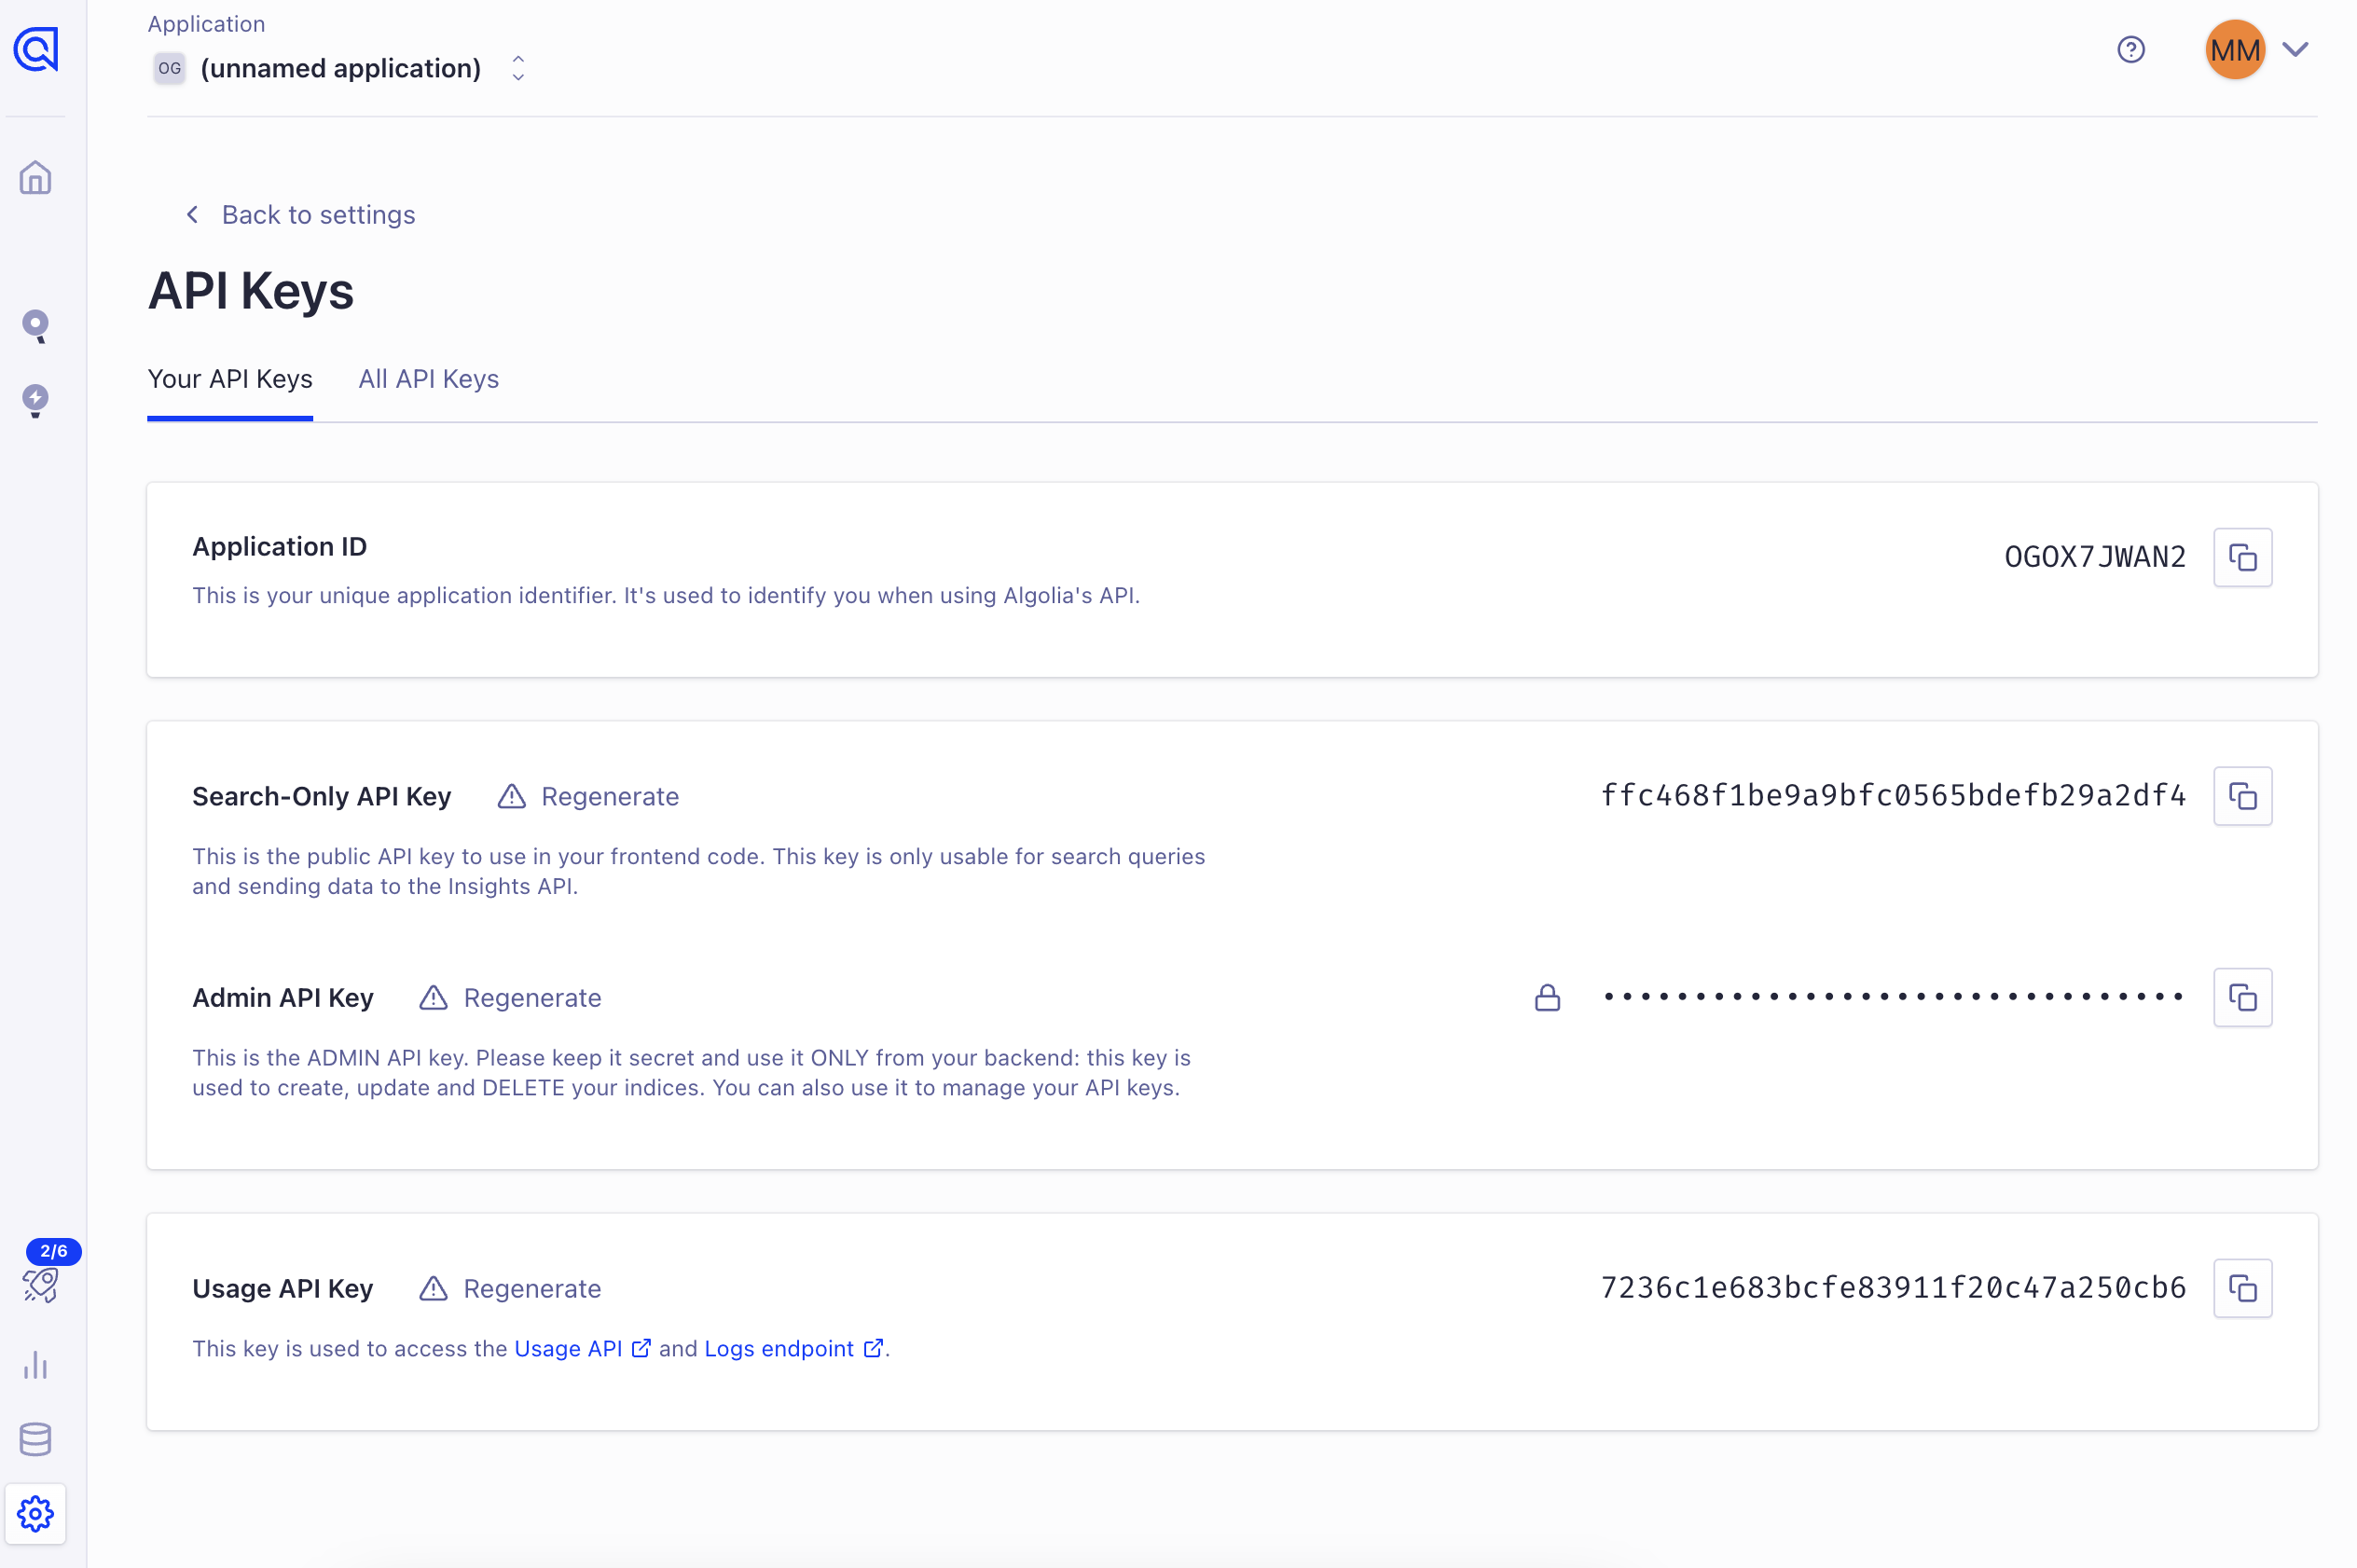
You will see several sections on this page Application ID, Search-Only API key, Admin API Key and Usage API Key. You can read the short description under title of section to understand the spesific functions. Basicly you just need to save Application ID, Search-Only API Key and Admin API Key. We will use Search-Only API Key on the Frontend Integration Setup and Admin API Key on CI/CD Setup (notes: Admin API Key provides full control over all your indices and can perform all types of operations, including potentially destructive ones, so it should be kept secure).
And that’s it, you just finish the setup process on Algolia Dashboard. Let’s jump to the another part.
CI/CD Setup
As I mentioned earlier, we will upload our Algolia search index records programmatically via CI/CD. FYI, I’m doing build and deploy my personal blog to Github Pages automatically by Github Actions. So I’m gonna includes records upload process into Github Actions flow, but before I jump into that I need to build script for parsing metadata from the markdown articles and converts it into JSON file. That JSON file then uploaded as records via Admin API. You can refer to my example code, which demonstrates this process bin/generateArticleJSON.js. Every time that code run, it will replace the all existing records with value from new generated JSON file. This is the flowchart diagram to describe the whole flow of my CI/CD process.
Loading graph...
And this is my actions .yml files to implements that process (notes: always use github secrets to masking your sensitive infromation in actions configuration files, see more here).
name: Deployment Web

on:
  workflow_dispatch:
  push:
    branches: [main]

jobs:
  build:
    runs-on: ubuntu-latest
    strategy:
      matrix:
        node-version: [16.x]
    steps:
      - uses: actions/checkout@v2
      - name: Use Node.js ${{ matrix.node-version }}
        uses: actions/setup-node@v1
        with:
          node-version: ${{ matrix.node-version }}

      - name: Install Dependencies
        run: npm install

      - name: Build & Complie
        run: npm run build

      - name: Rebuild Algolia index records
        run: ALGOLIA_APP_ID=${{secrets.ALGOLIA_APP_ID}} ALGOLIA_API_KEY=${{secrets.ALGOLIA_API_KEY}} node ./bin/generateArticleJSON.js

      - name: Clone Production Repo & Update
        run: |
          git clone https://munirapp:${{secrets.TOKEN_GITHUB}}@github.com/munirapp/munirapp.github.io
          rm -rf munirapp.github.io/*
          cp -r ./dist/* munirapp.github.io/
          touch munirapp.github.io/.nojekyll

      - name: Deploy to Production Repo
        run: |
          git config --global user.email "softwaremakassar@gmail.com"
          git config --global user.name "Munir AP"
          git add .
          git commit --allow-empty -m "update"
          git push origin main
        working-directory: ./munirapp.github.io
Frontend Integration Setup
Now, we just need to integrate Algolia Search with Astro Components. Because I using astro as SSG (Static Site Generator), the process involves embedding the necessary scripts and initializing the search functionality within the Astro components. So I’m just imported 2 scripts from the CDN there are Algolia Search client and the InstantSearch.js library. The Algolia Search client is used to interact with the Algolia API, while the InstantSearch.js library provides pre-built UI widgets and helpers to create a powerful search interface. This is the example code how I implement it
<script
  is:inline
  src="https://cdn.jsdelivr.net/npm/algoliasearch@4.17.2/dist/algoliasearch-lite.umd.js"
  integrity="sha256-X2G+vjV8i6Jj2NSGFTvy6Z4q2AlmF5aH0HiIpWJ8eU4="
  crossorigin="anonymous"
></script>
<script
  is:inline
  src="https://cdn.jsdelivr.net/npm/instantsearch.js@4.56.3/dist/instantsearch.production.min.js"
  integrity="sha256-mWvjWAfZylKMOg+S3HLq+wng1HHRnl2Idr2r8NsUzIU="
  crossorigin="anonymous"
></script>
<script is:inline>
  document.querySelector('input[id=search-modal]').addEventListener('click', function () {
    setTimeout(() => {
      document.querySelector('.ais-SearchBox-input').focus()
    }, 500)
  })

  document.addEventListener('keydown', function (ev) {
    if (ev.metaKey && ev.key === 'k') {
      document.querySelector('#search-modal').click()
      document.querySelector('.ais-SearchBox-input').focus()
    }
  })

  const searchClient = algoliasearch('APPLICATION_ID', 'SEARCH_API_KEY')

  const search = instantsearch({
    indexName: 'munirapp_blog',
    searchClient,
  })

  search.addWidgets([
    instantsearch.widgets.searchBox({
      container: '#searchbox',
    }),

    instantsearch.widgets.hits({
      container: '#hits',
      templates: {
        item: `
        <div class="container">
          <p>{{#helpers.highlight}}{ "attribute": "year" }{{/helpers.highlight}}</p>
          <a href='/{{slug}}/'>
            <h2 class="hit-name text-base mb-4">
              {{#helpers.highlight}}{ "attribute": "title" }{{/helpers.highlight}}
            </h2>
          </a>
          <p>{{#helpers.highlight}}{ "attribute": "description" }{{/helpers.highlight}}...</p>
        </div>
    `,
      },
    }),

    instantsearch.widgets.configure({
      hitsPerPage: 2,
    }),
  ])

  search.start()
</script>
And congratulations, you already finish to integrate Algolia search with Astro project. To see the example result from this tutorial you can go back to home and try to click search input or press Ctrl/Cmd + K or you can just see on gif image below.
See More
- A Deep Dive into the Technology Behind My Blog (Part 1): Astro
- A Deep Dive into the Technology Behind My Blog (Part 2): Giscus
👉 (You are here)A Deep Dive into the Technology Behind My Blog (Part 3): Algolia Search