(Part 2) A Deep Dive into the Technology Behind My Blog: Giscus
Engaging with your readers is critical for developing a community around your content, no matter you’re a tech enthusiast, a lifestyle blogger, or a business owner who own marketplace website. One of the most effective ways to encourage interaction is have a commenting system than can stimulate discussion or just to starting a small conversation with you readers or visitors.
Building a comment system for your websites from scratch can be a little bit complex. So rather than I build it, I more prefer to embed it on my personal blog. That’s why this article will talk about Giscus, an open source comments system that is one of technology behind my blog’s iceberg.
Why Giscus?
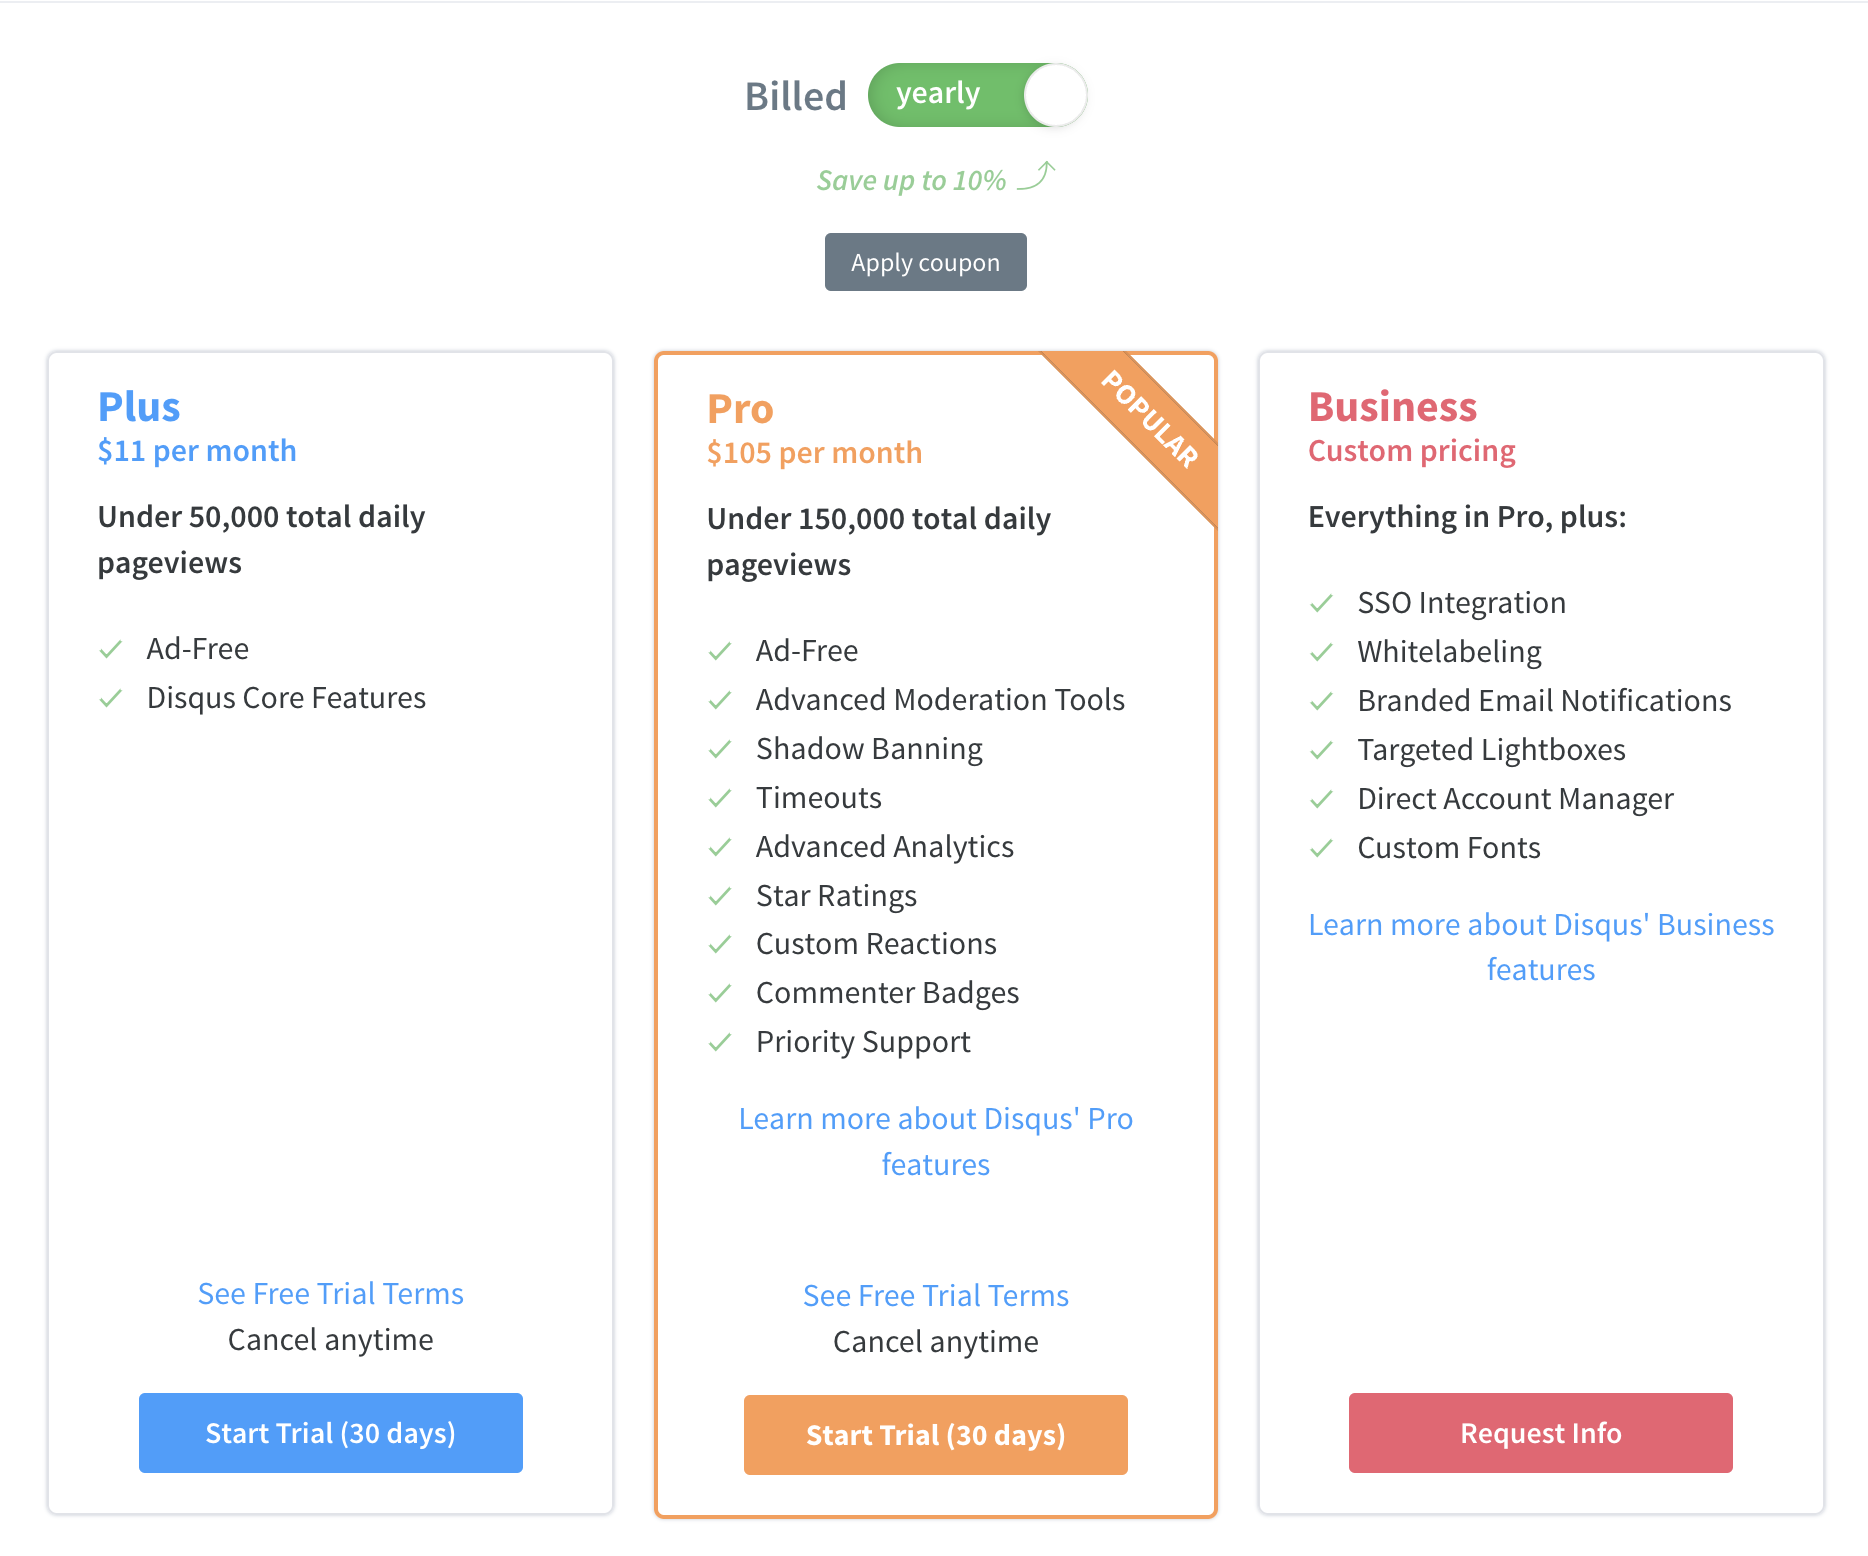
Before Giscus, I was familiar with Disqus. Disqus is most popular commenting system platform that can be intergrated into almost any website. But, I think there are certain aspect in Disqus that can be considered as trade-offs, that was you need to make/register a Disqus account first before you can embed it into your website, also your comment section will be injected with ads by Discqus if your account still on basic tier, so if you want to remove this injected ads you need make subscription at least $11 / month (Plus tier plan).
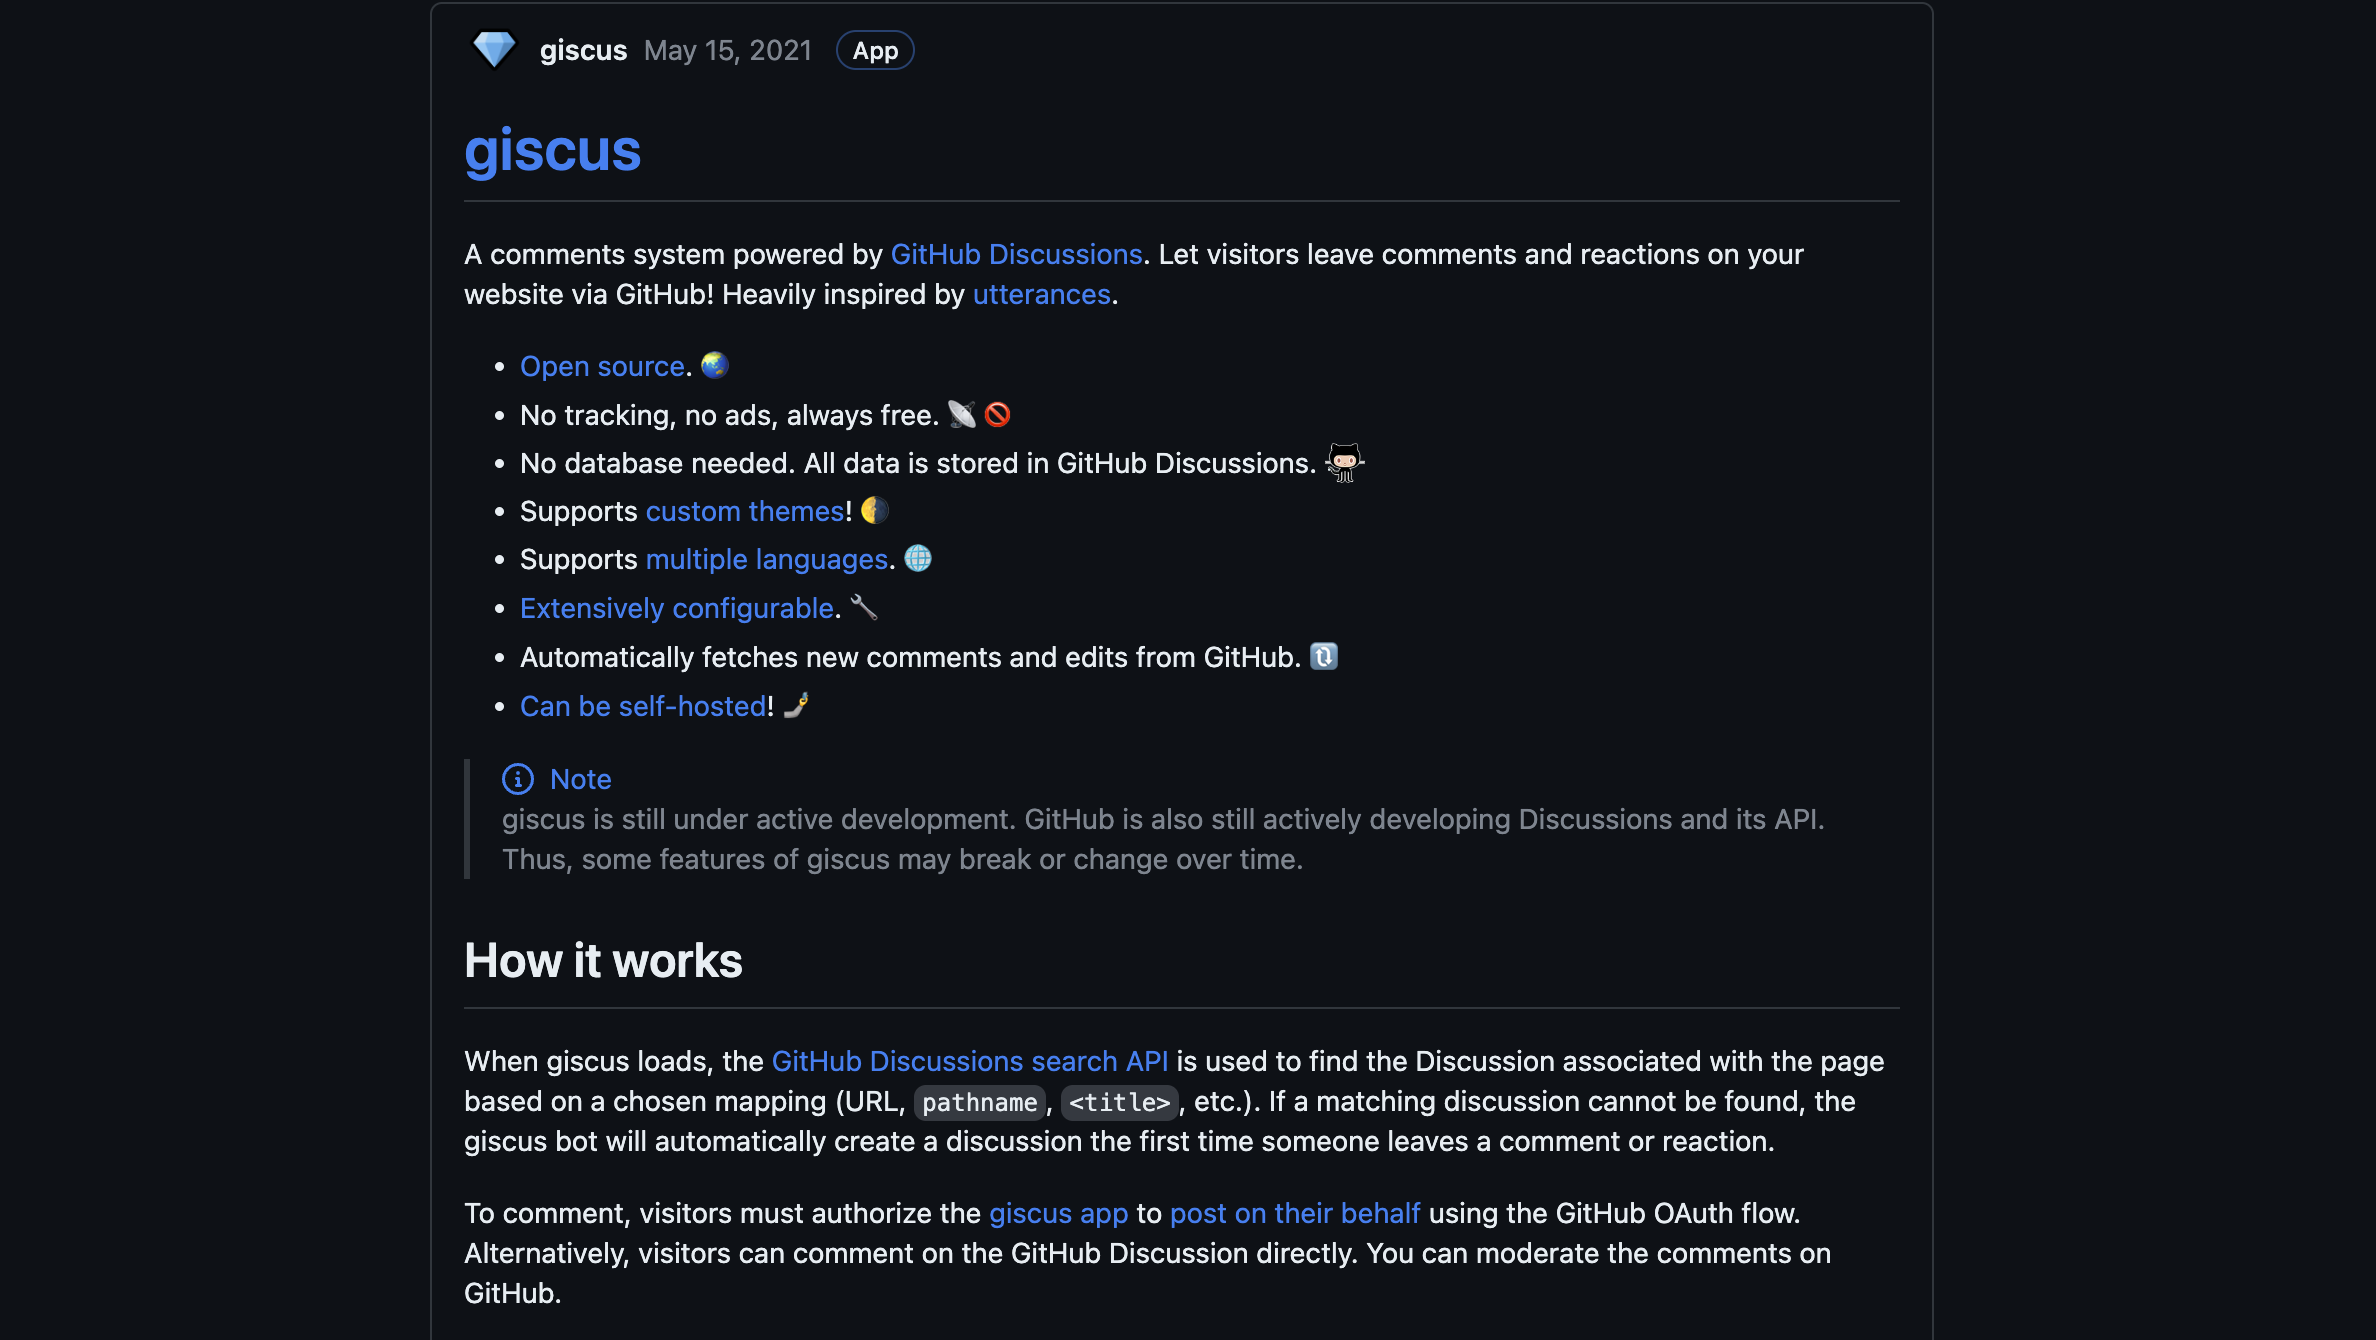
Because those trade-offs, I try to explore other options and it led me to Giscus. Giscus is open source comment system based on Github Discussions. When giscus loads, the GitHub Discussions search API is used to find the Discussion associated with the page based on a chosen mapping (URL, pathname, title, etc.). If a matching discussion cannot be found, the giscus bot will automatically create a discussion the first time someone leaves a comment or reaction. To comment, visitors must authorize the giscus app to post on their behalf using the GitHub OAuth flow. Alternatively, visitors can comment on the GitHub Discussion directly and you can moderate the comments on GitHub. Considering its comprehensive features, I believe giscus is an ideal options for my personal blog needs.
How to integrate Giscus
Basicly, all you need to integrate giscus in your website was already explained on https://giscus.app/, but I thought it be cool to break it down on this article step by step instructions with some screenshots.
Setup your Github Account & Repository
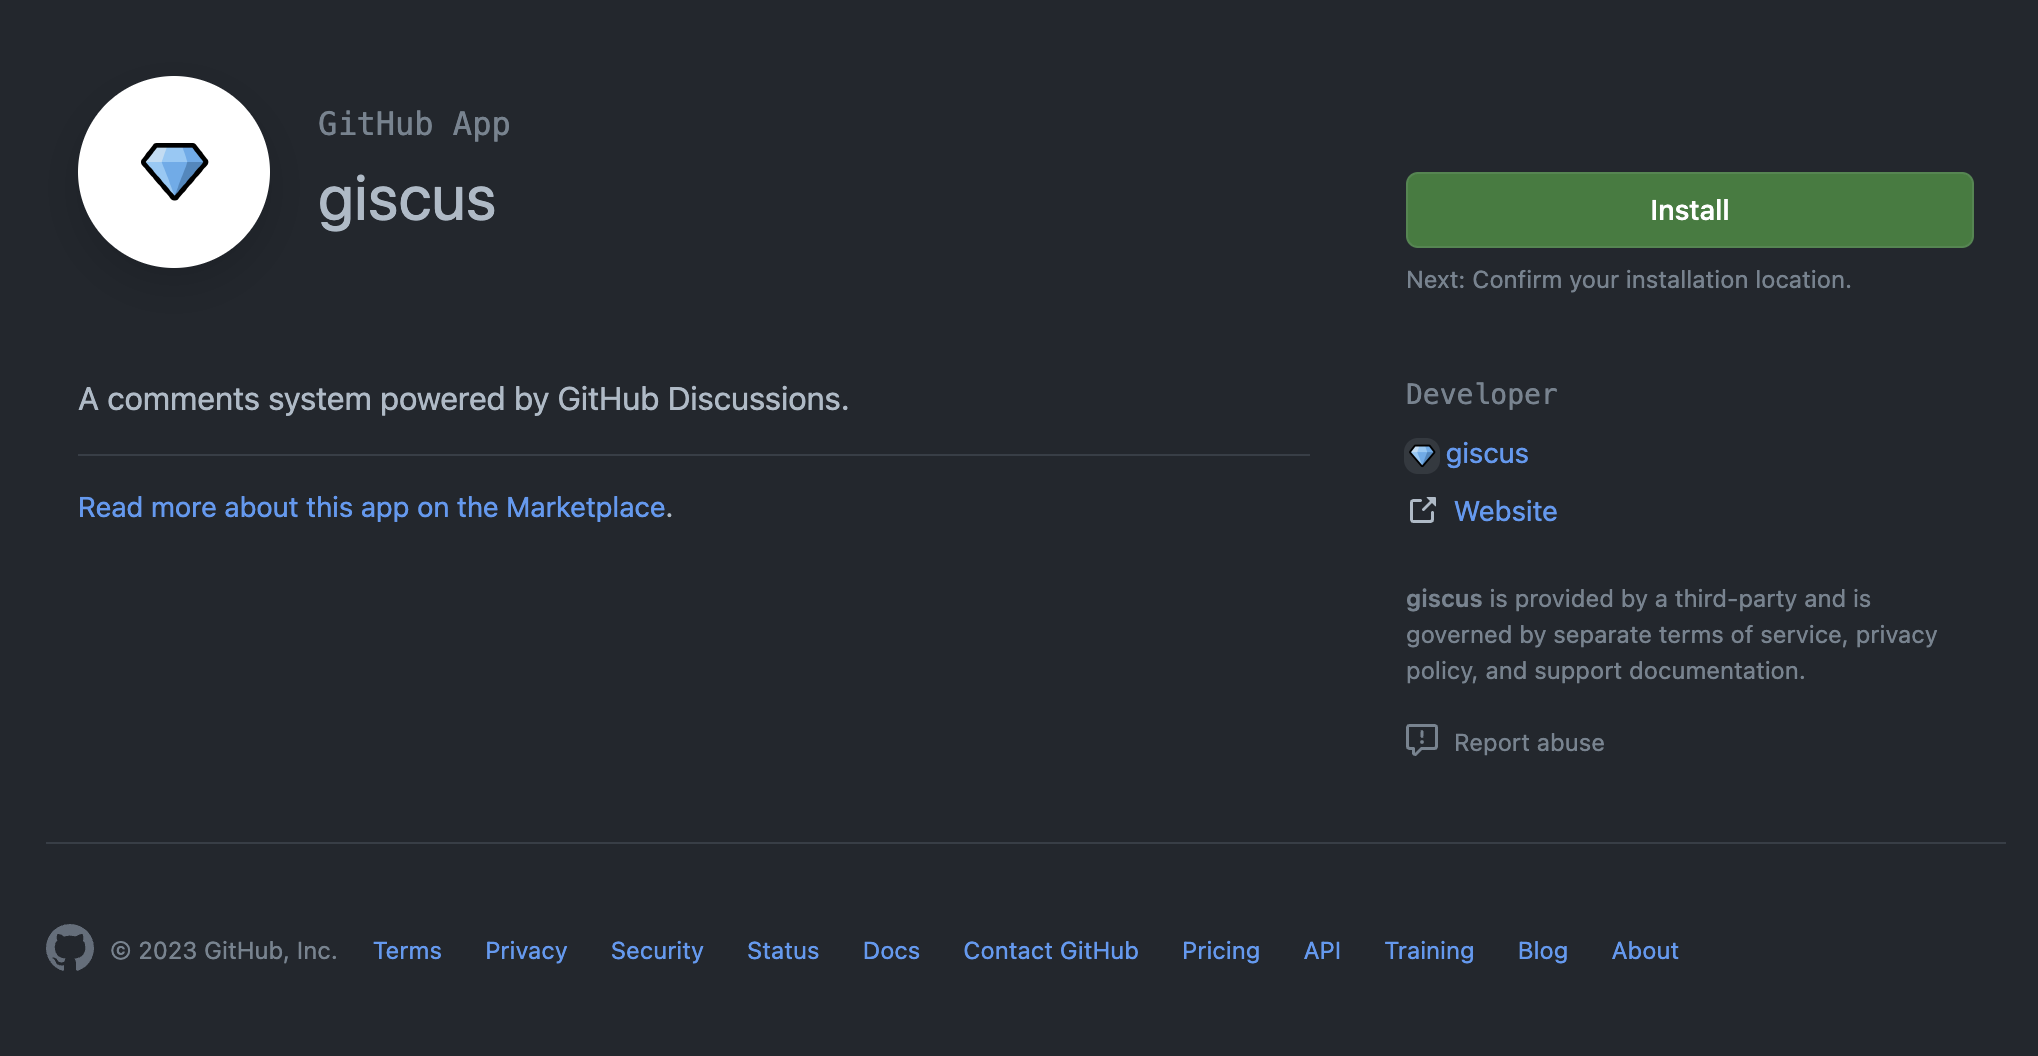
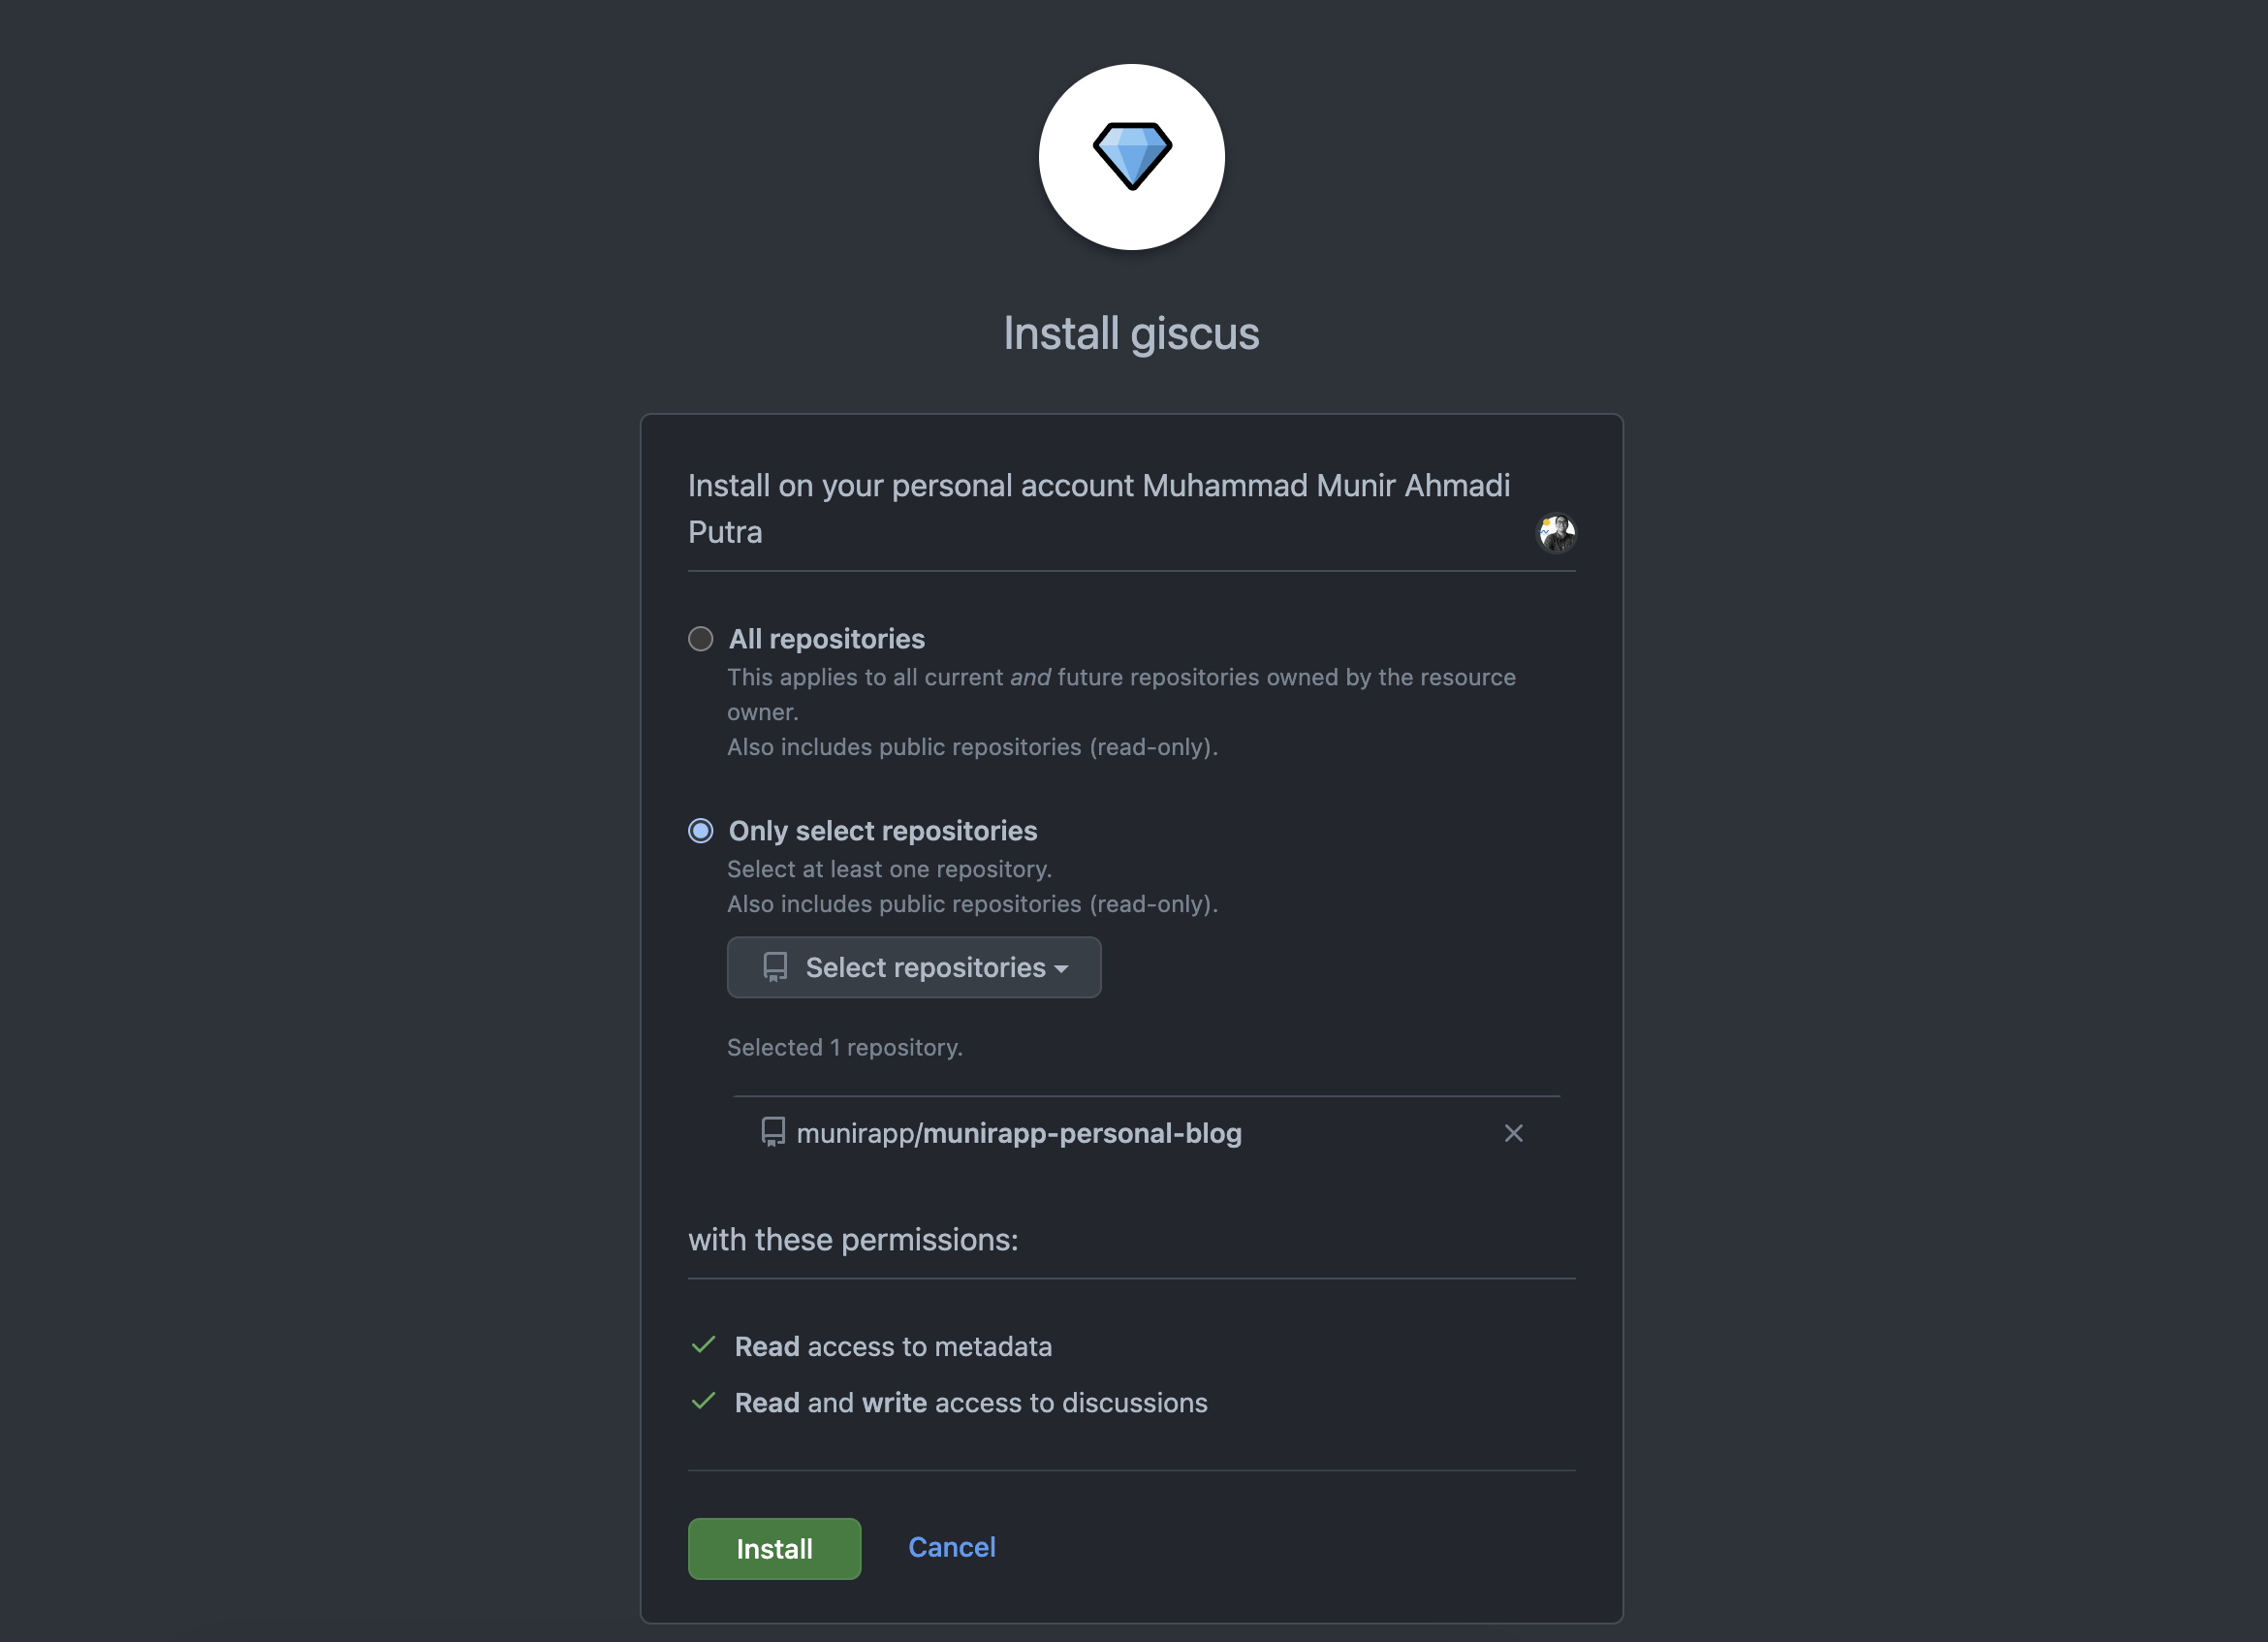
Like I mentioned earlier, you need to login on your github account first and install giscus app ((https://github.com/apps/giscus)[https://github.com/apps/giscus]) and then configure which related account & repository that you want to integrated with giscus. remember you need to select a public repository.
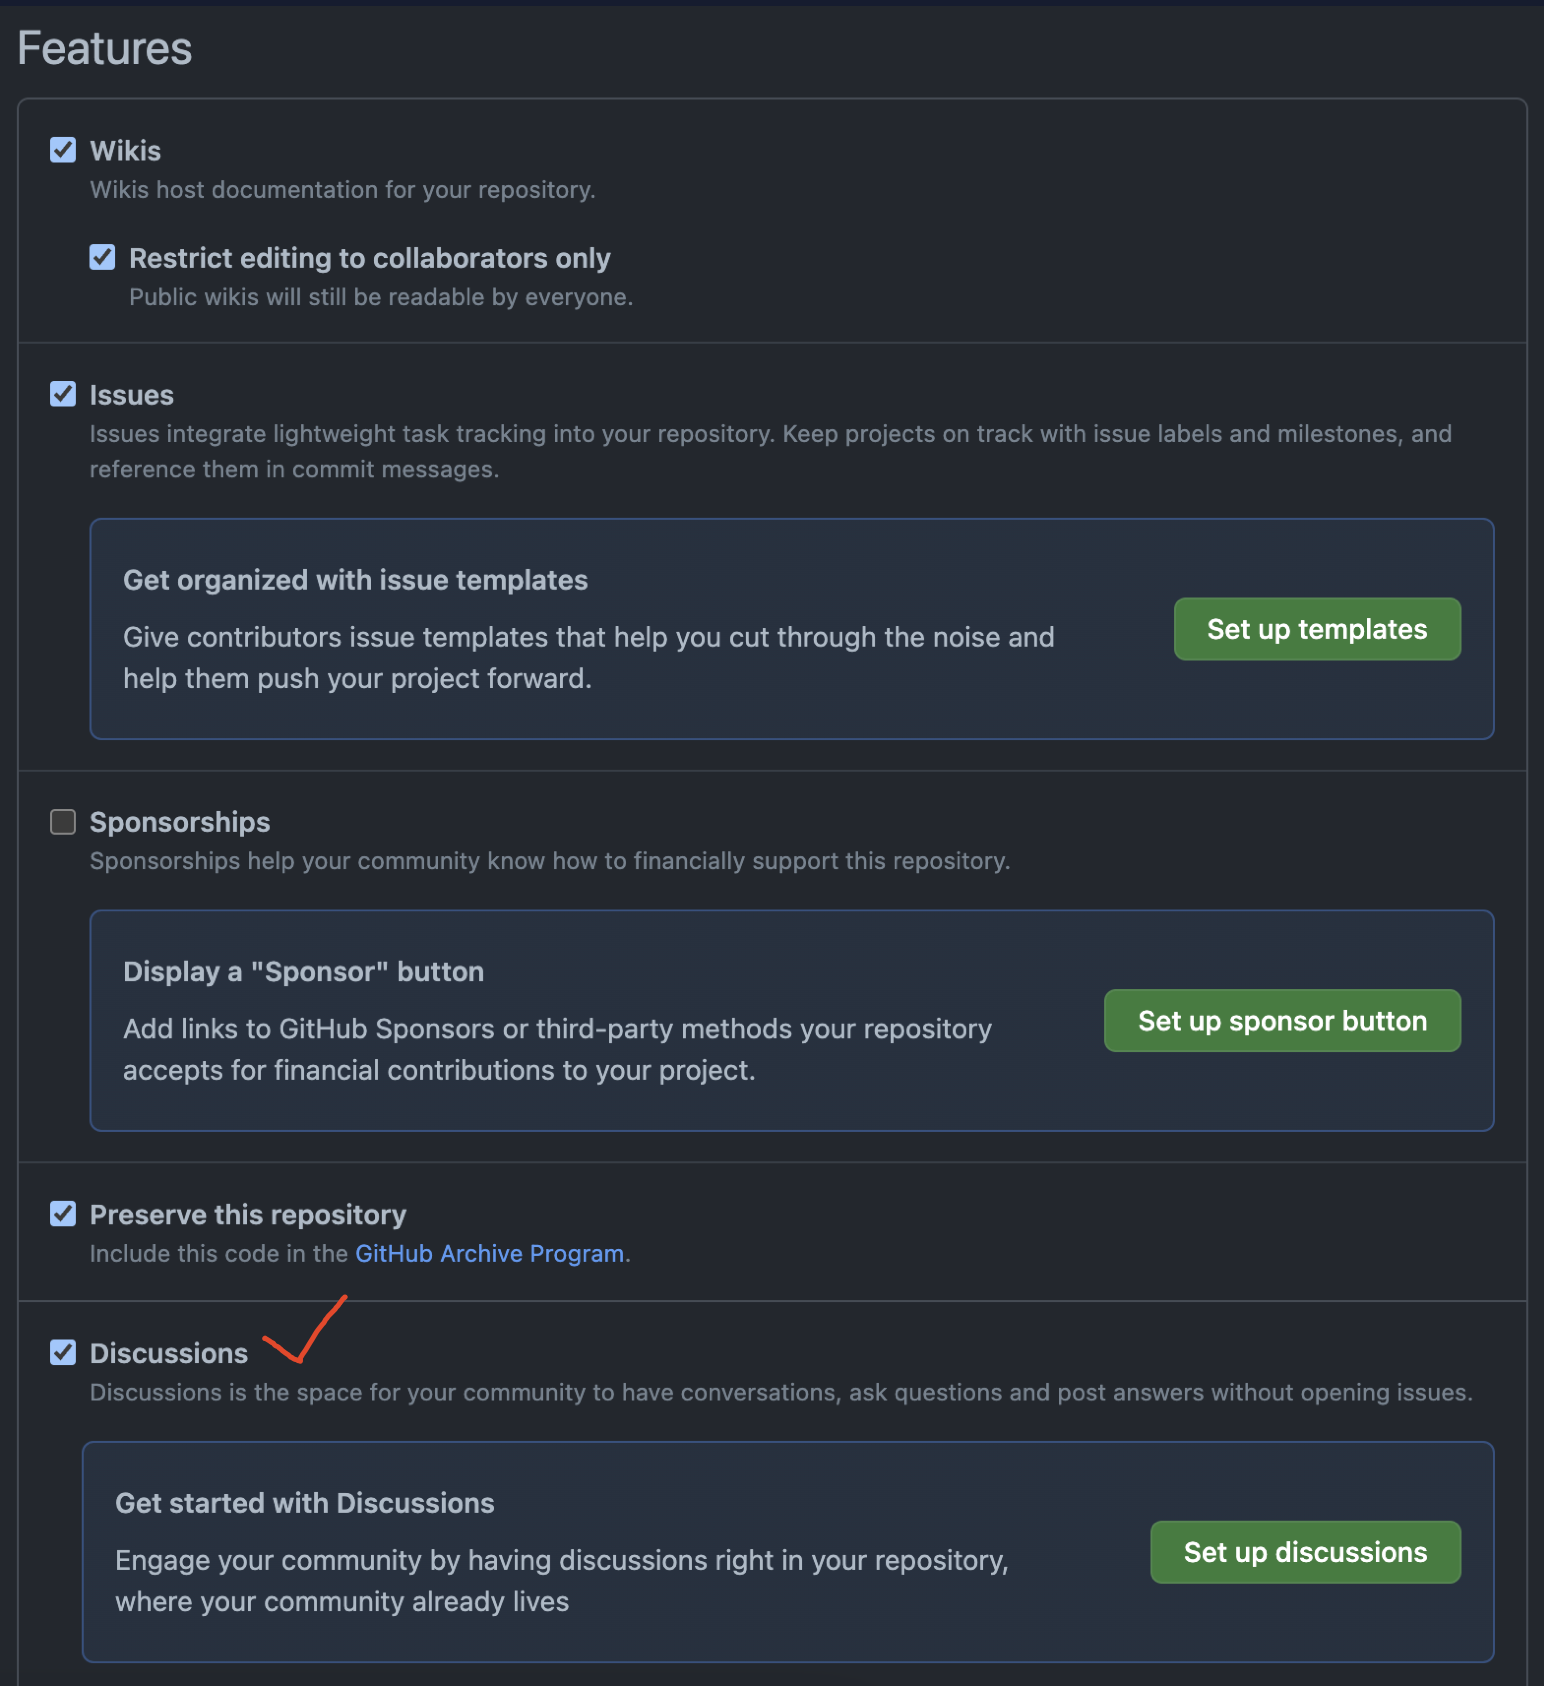
the next step is to enable discussion feature on your selected repository. Go to your repository tab settings -> General Sections -> scroll down to Feature section and check mark Discussions.

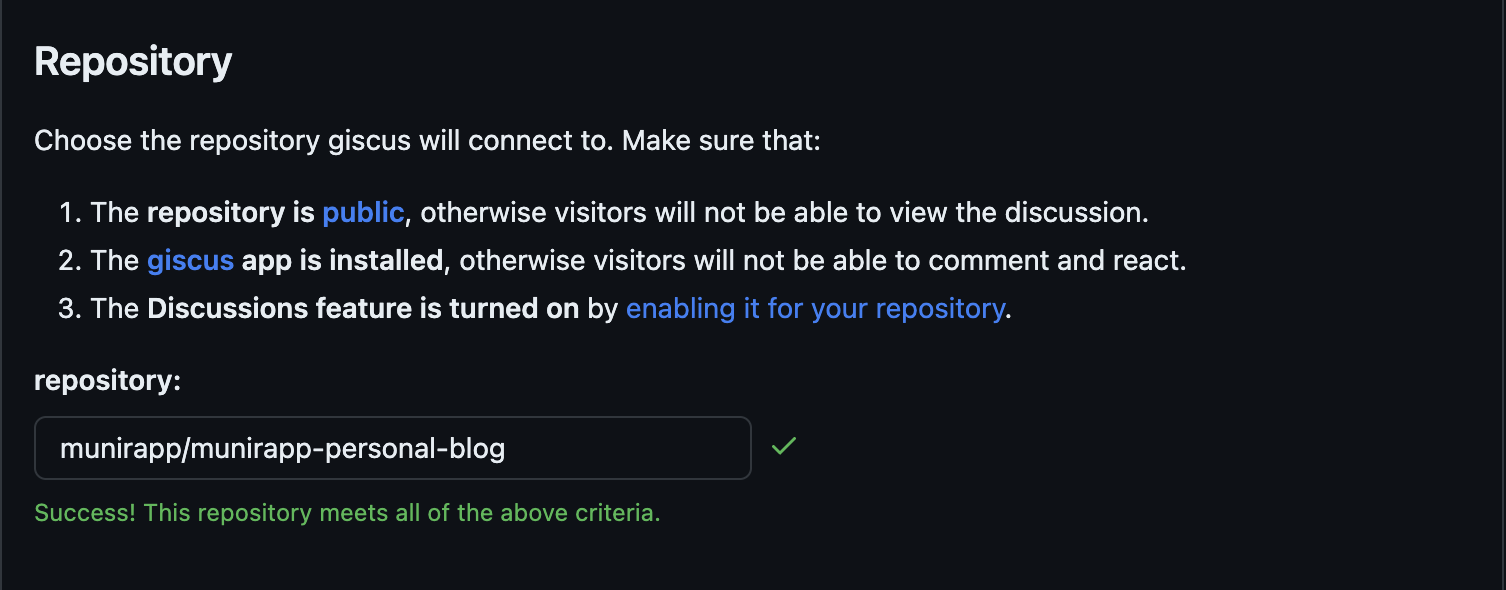
go to https://giscus.app/, scroll down to repository section input your repository name with format username/repositoryname. If you’ve nailed the configuration, you’ll see a green check mark showing up.
Embed Giscus on your Website
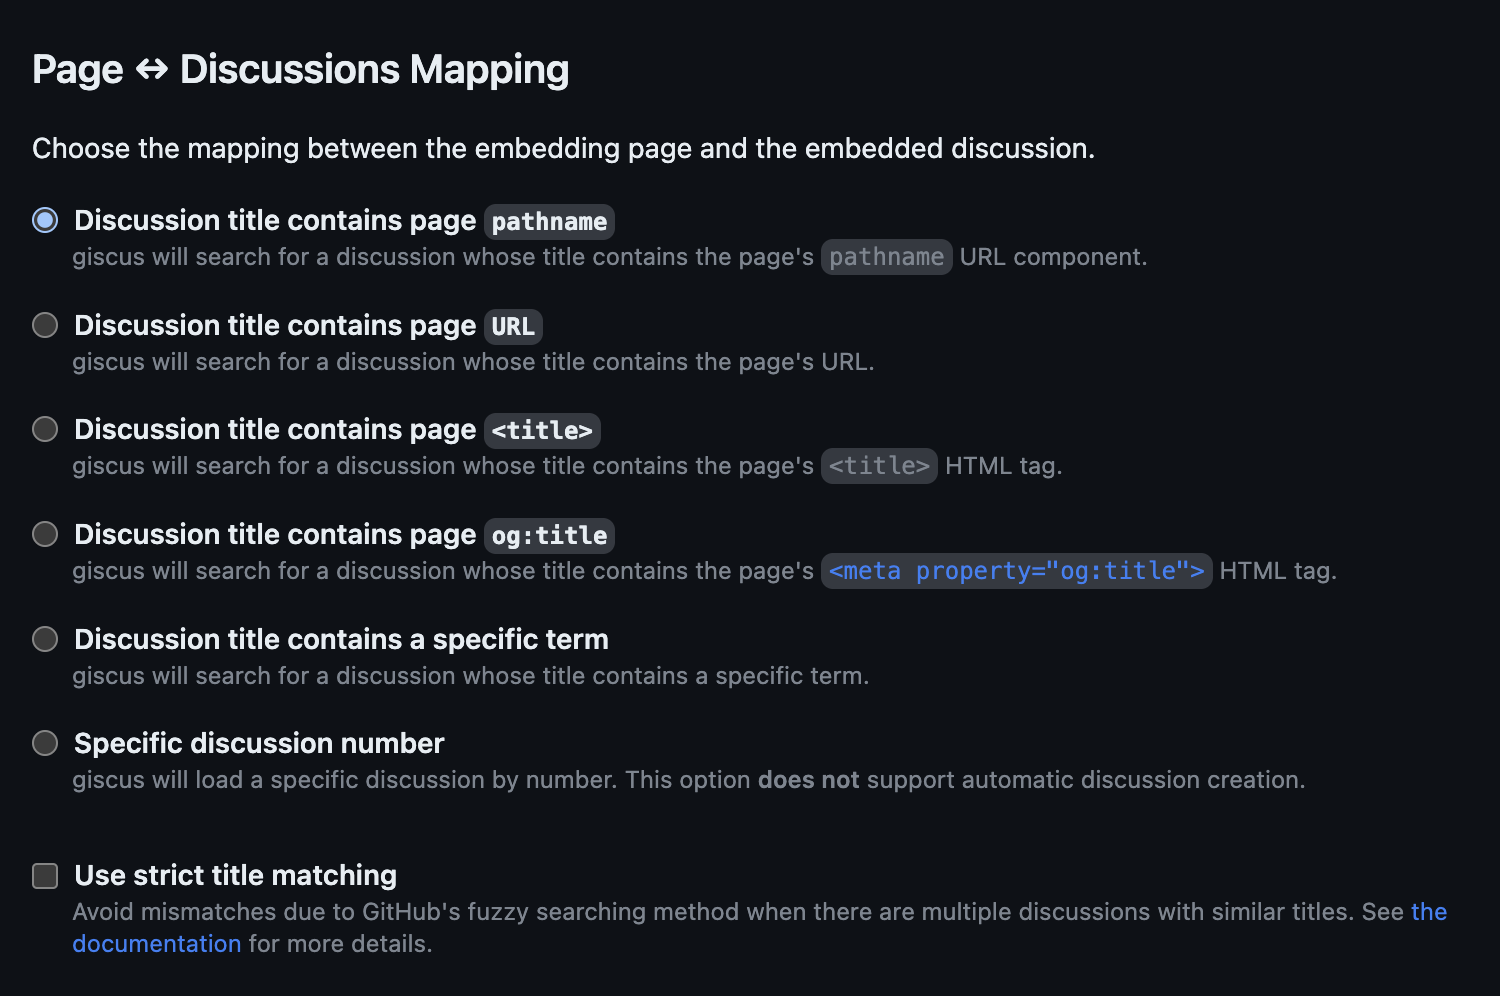
stay on https://giscus.app/ pages, the next step is we configure some options to generate giscus script tags. First one, defined the discussion mapping (For my side, I choose Discussion title contains page pathname. Because I’ve made for each article on my blog have unique slug)
next, define the Discussion Category (For my side, I use Q&A Category, and check mark Only search for discussions in this category)

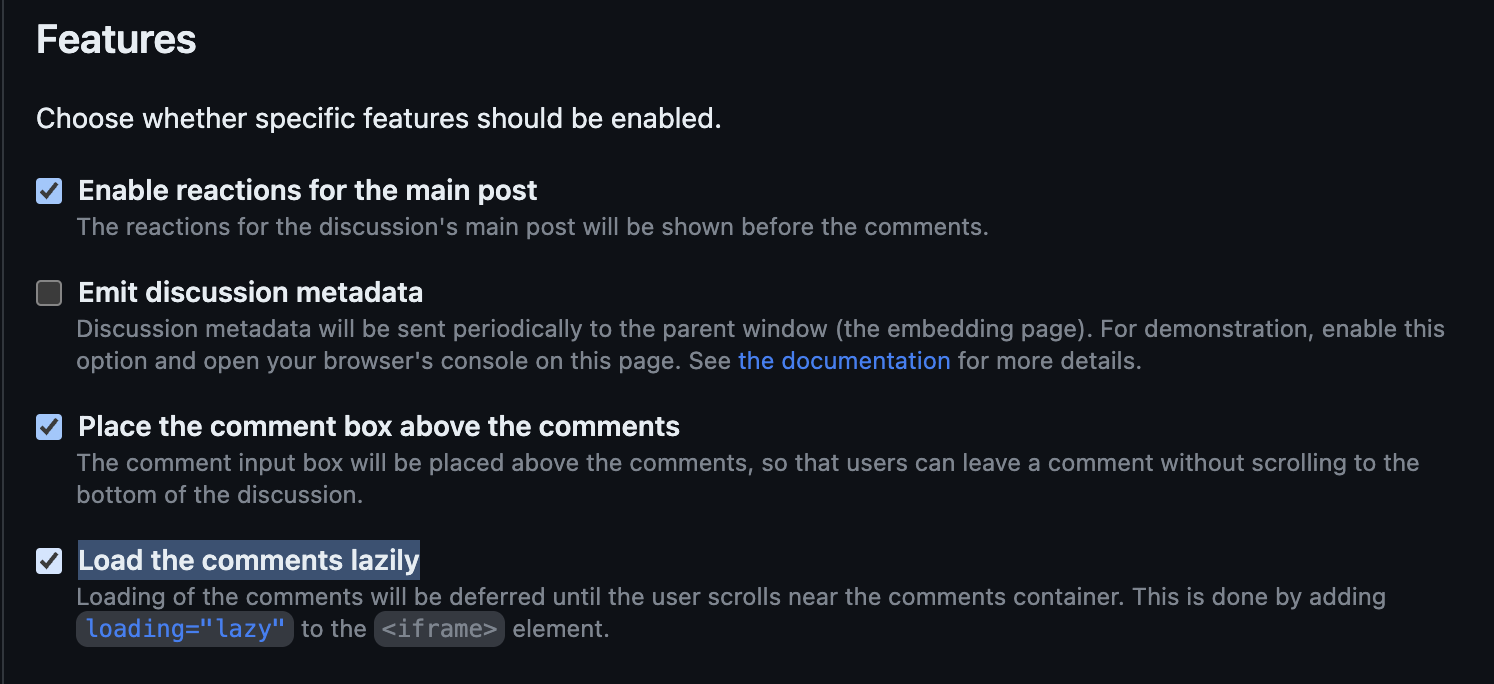
choose whether spesific features should be enabled (I checkmark feature Enable reactions for the main post, Place the comment box above the comments, Load the comments lazily)
last, choose the themes (I use Prefered color schema)

on Enable giscus section you will see a giscus script tags, this script automatically generated base on your configuration previously, this is the example of mine
<script
  src="https://giscus.app/client.js"
  data-repo="munirapp/munirapp-personal-blog"
  data-repo-id="<MY_REPO_ID>"
  data-category="Q&A"
  data-category-id="<MY_CATEGORY_ID>"
  data-mapping="pathname"
  data-strict="0"
  data-reactions-enabled="1"
  data-emit-metadata="0"
  data-input-position="top"
  data-theme="preferred_color_scheme"
  data-lang="en"
  data-loading="lazy"
  crossorigin="anonymous"
  async
></script>
and congrats 🎉, you can embed your script tags on your website and let giscus handle the rest of process. But, if you need to add additional configurations and integrate giscus as a component in your js framework you need to read advance usage guide and giscus component library.
See More
- A Deep Dive into the Technology Behind My Blog (Part 1): Astro
👉 (You are here)A Deep Dive into the Technology Behind My Blog (Part 2): Giscus- A Deep Dive into the Technology Behind My Blog (Part 3): Algolia Search
References
https://github.com/features/discussions
https://andrewlock.net/considering-replacing-disqus-with-giscus/